User Guide
Kickstart your journey with Trek Rides, here is a guide to help you along!
Step 1: On the Trek Rides Home Screen, activate your account using your Apple ID details or mobile number
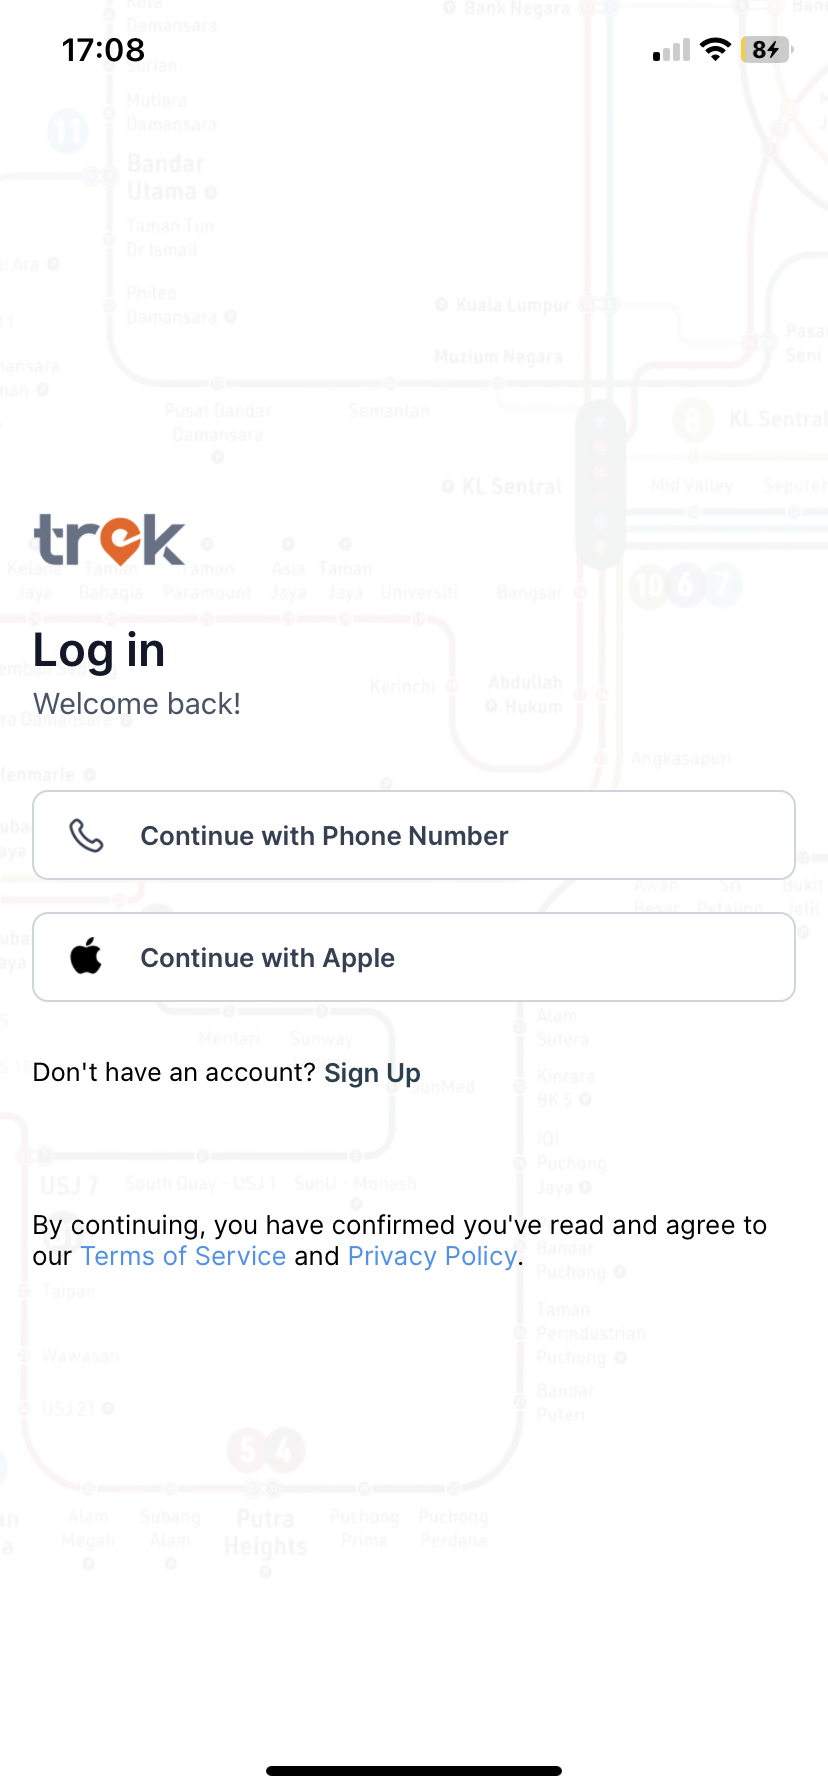
Step 2: You will be required to input your mobile number to complete your Trek Rides registration
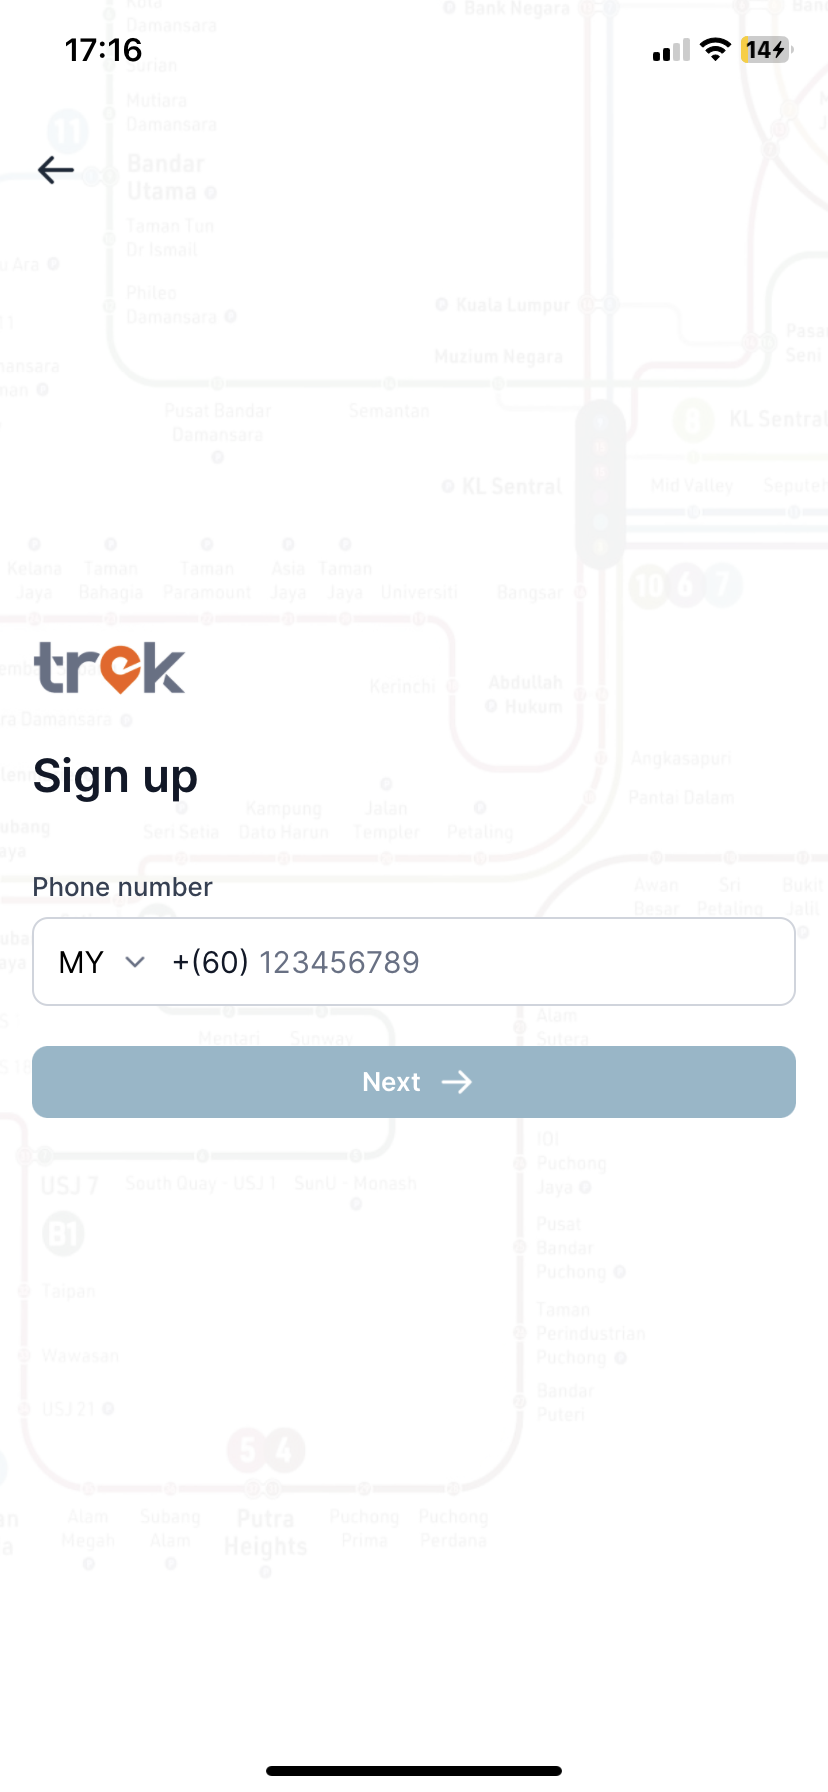
Step 3: A 6-digit code will be sent to your mobile number to verify you on the Trek Rides App
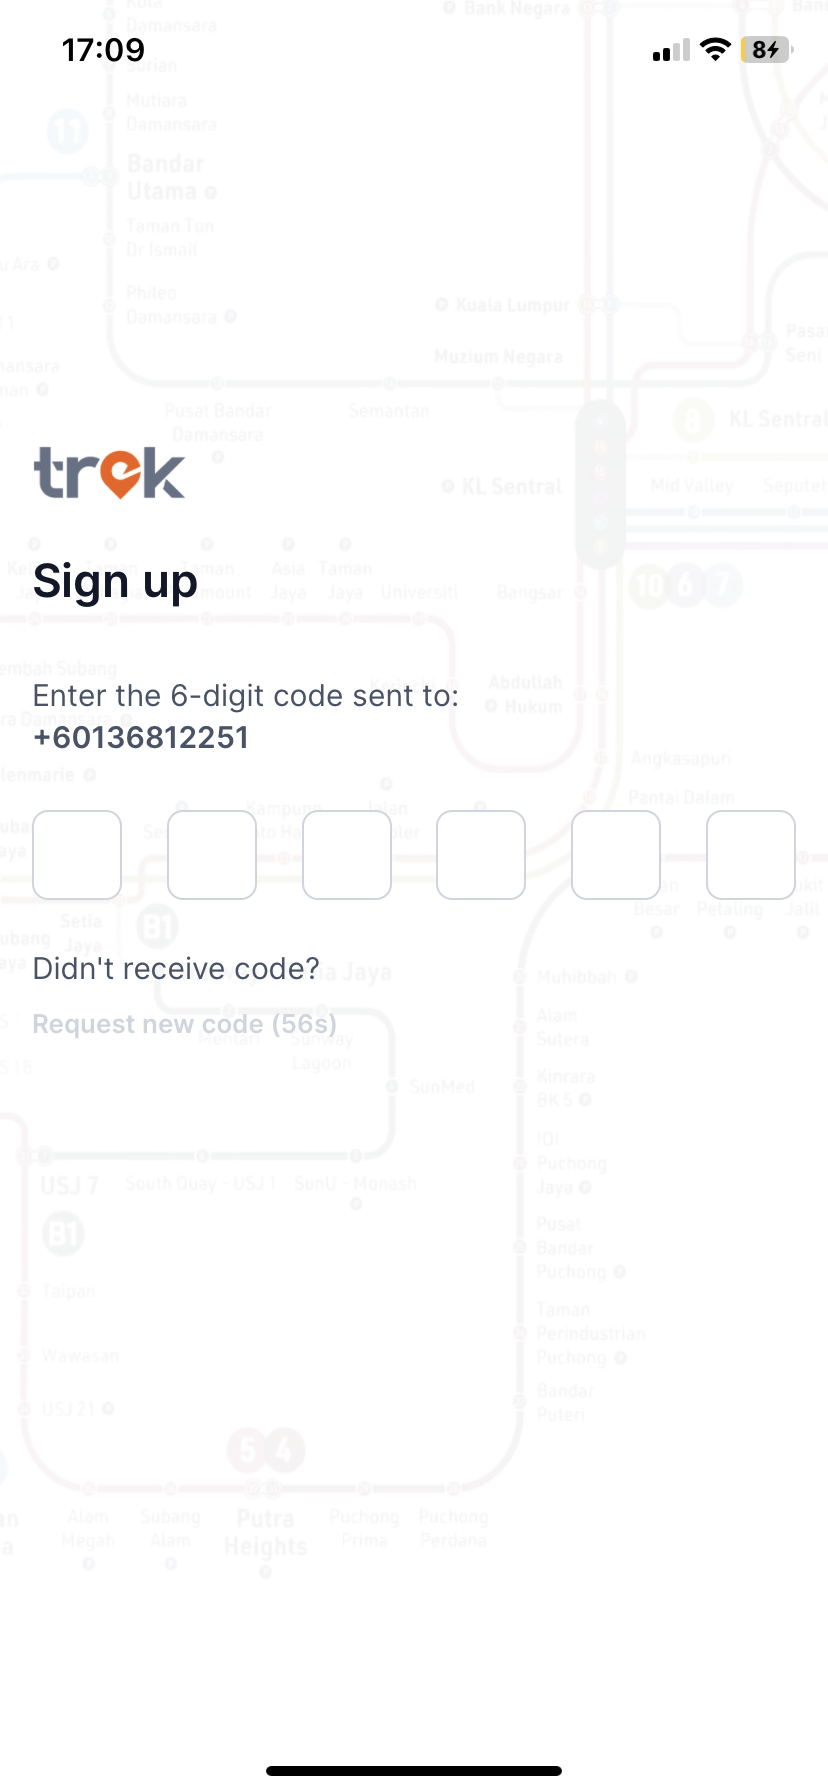
For Apple ID, you may continue with the same email from your Apple ID to register Trek Rides account by clicking continue button below.
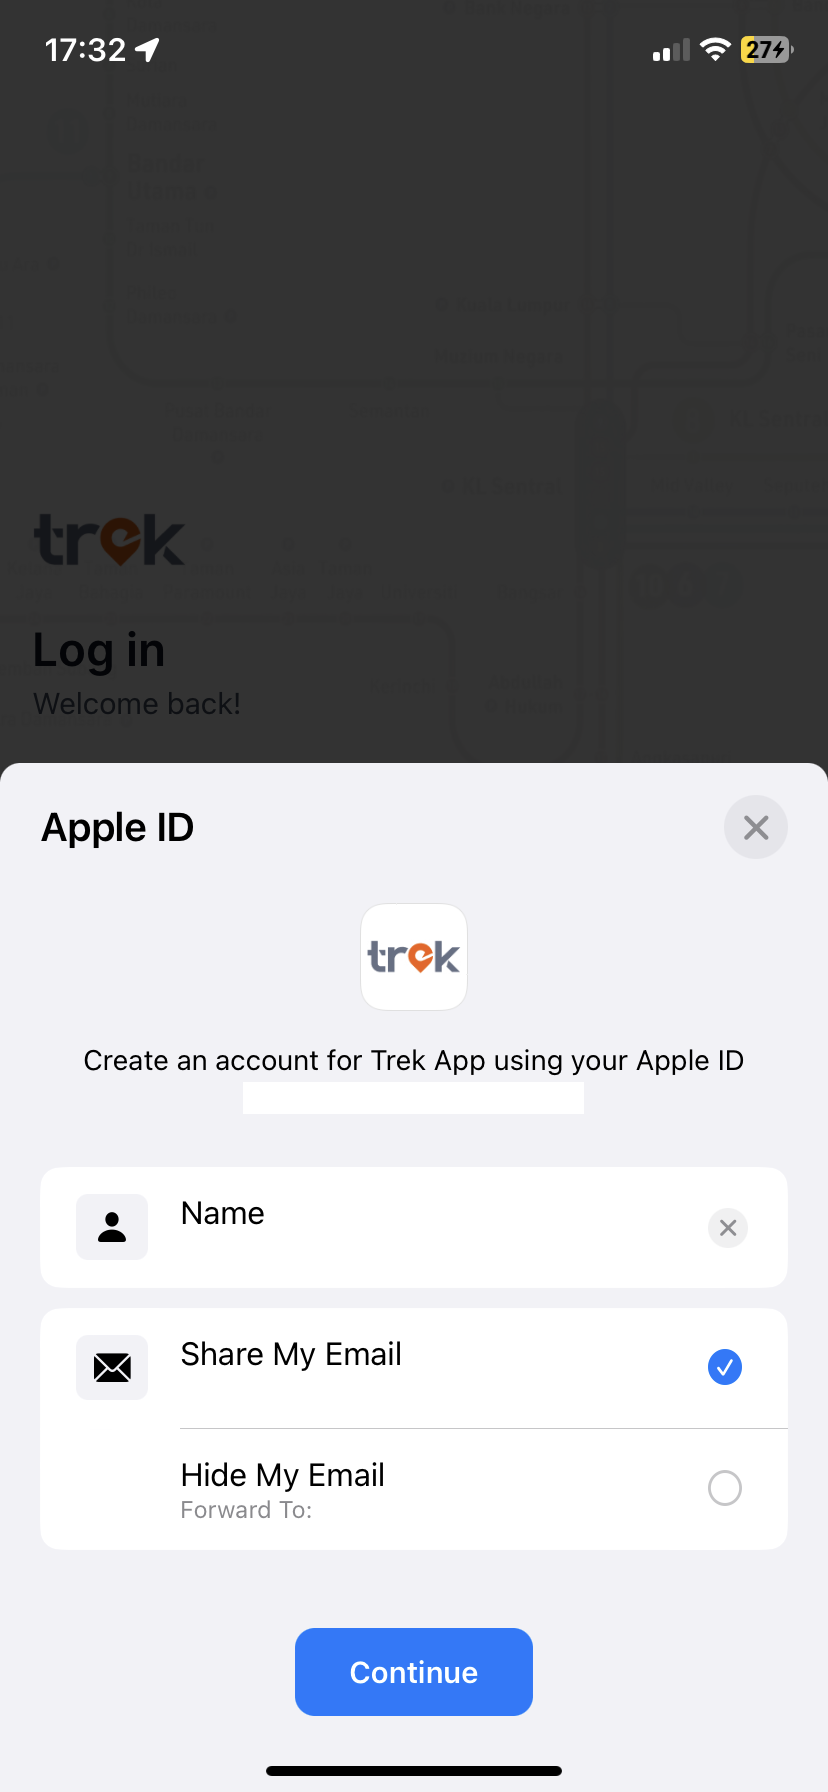
Step 1: Navigate to the side menu on the left and click “Book a ride”
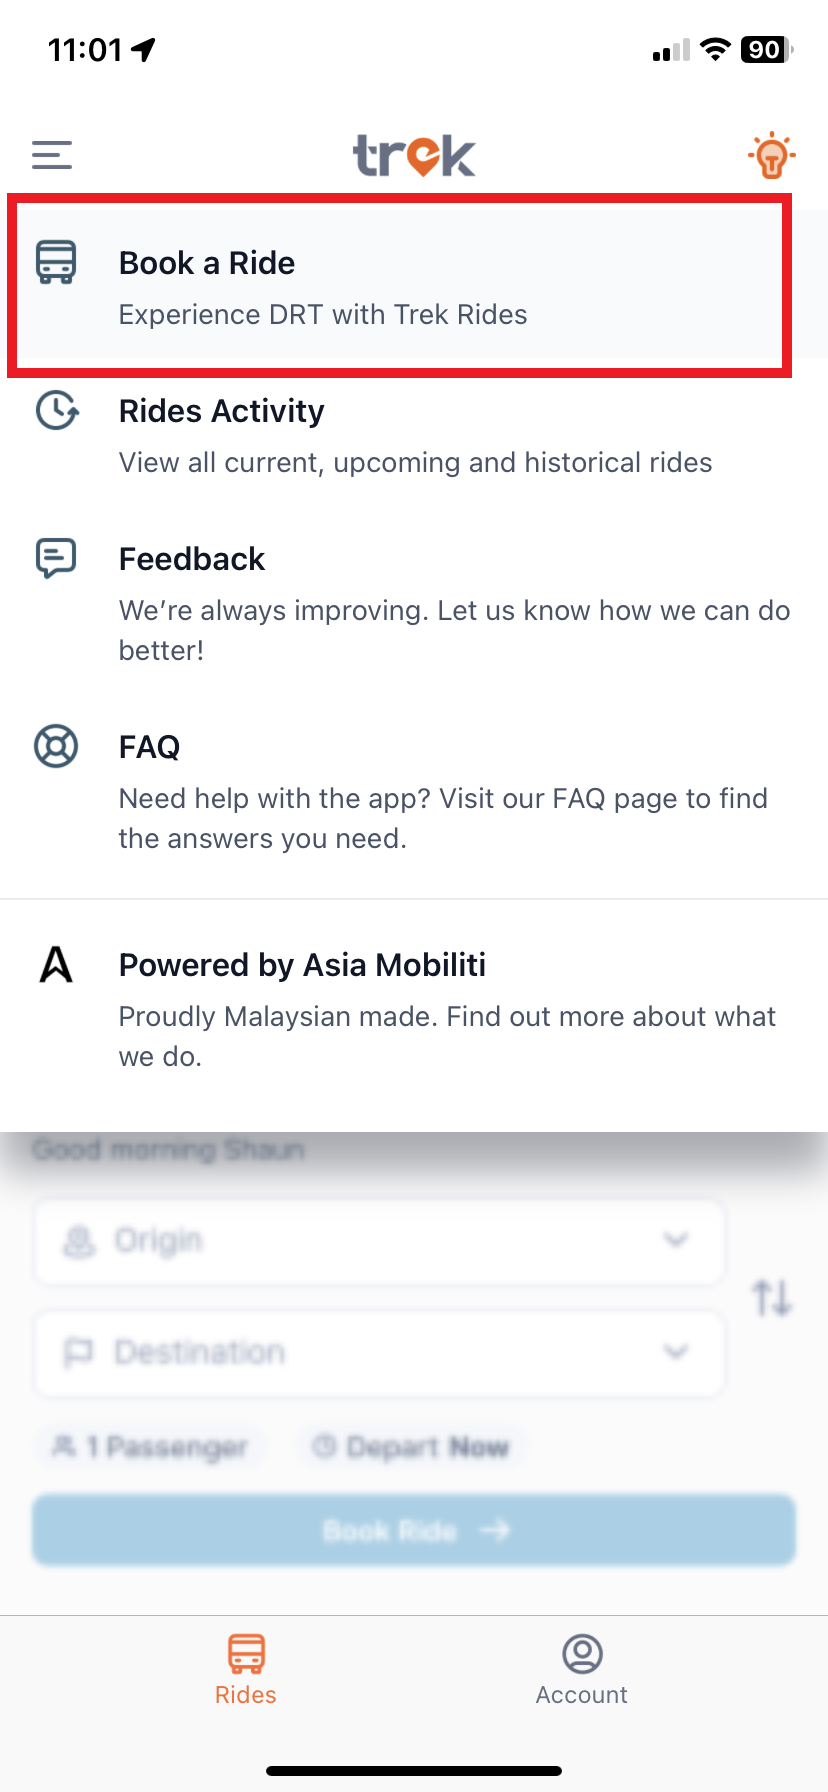
Step 2: Insert location/stop of where you want to depart and arrive at
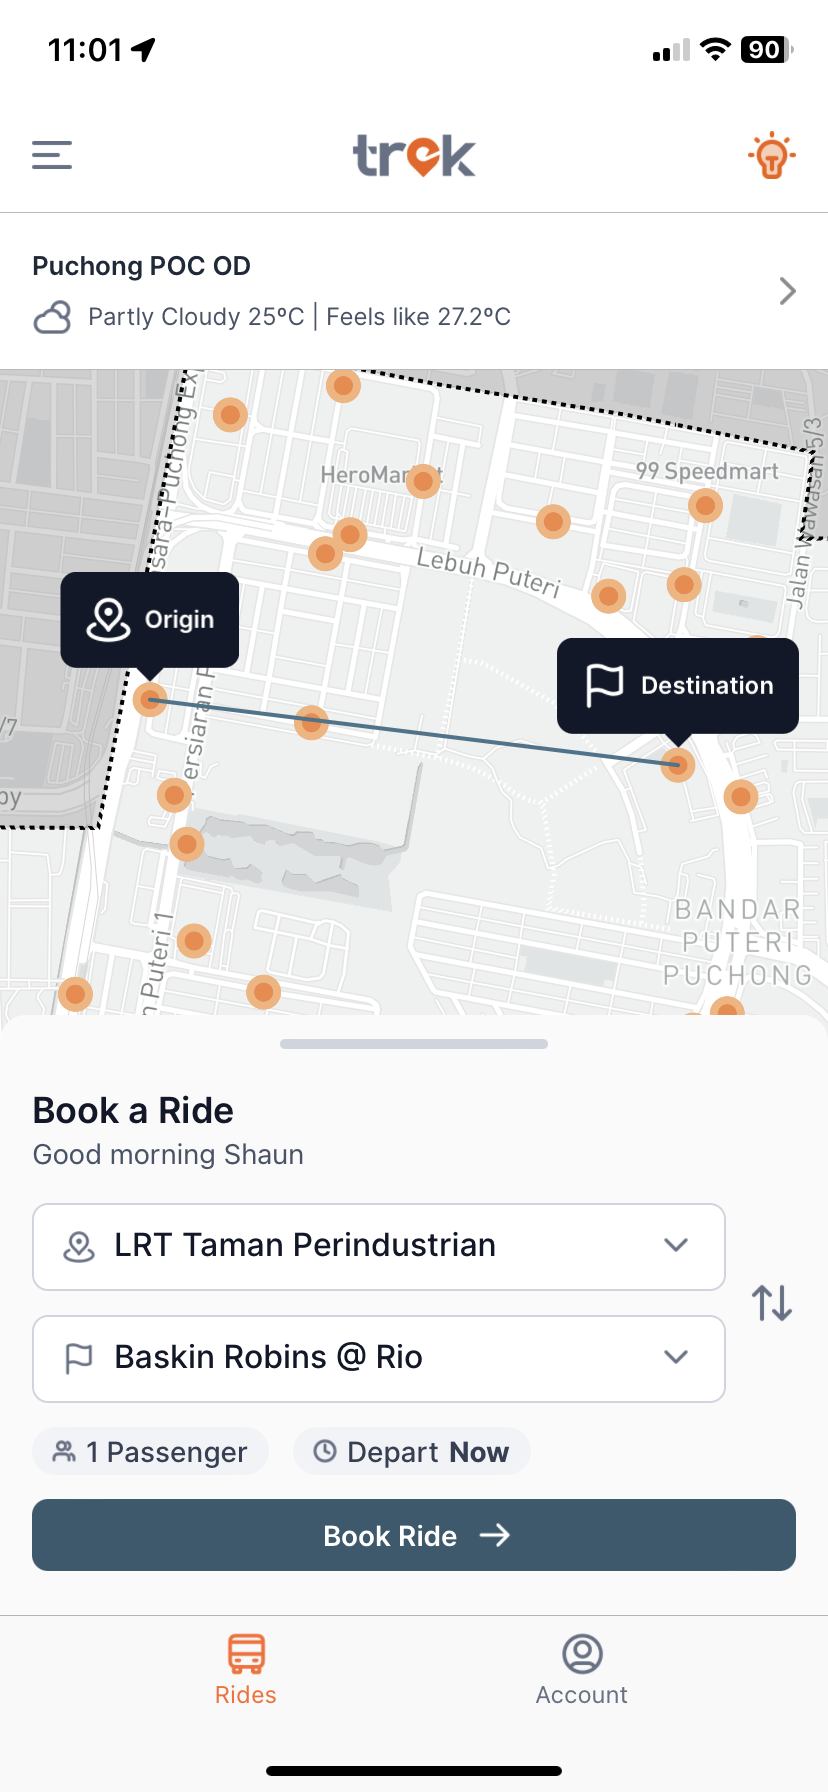
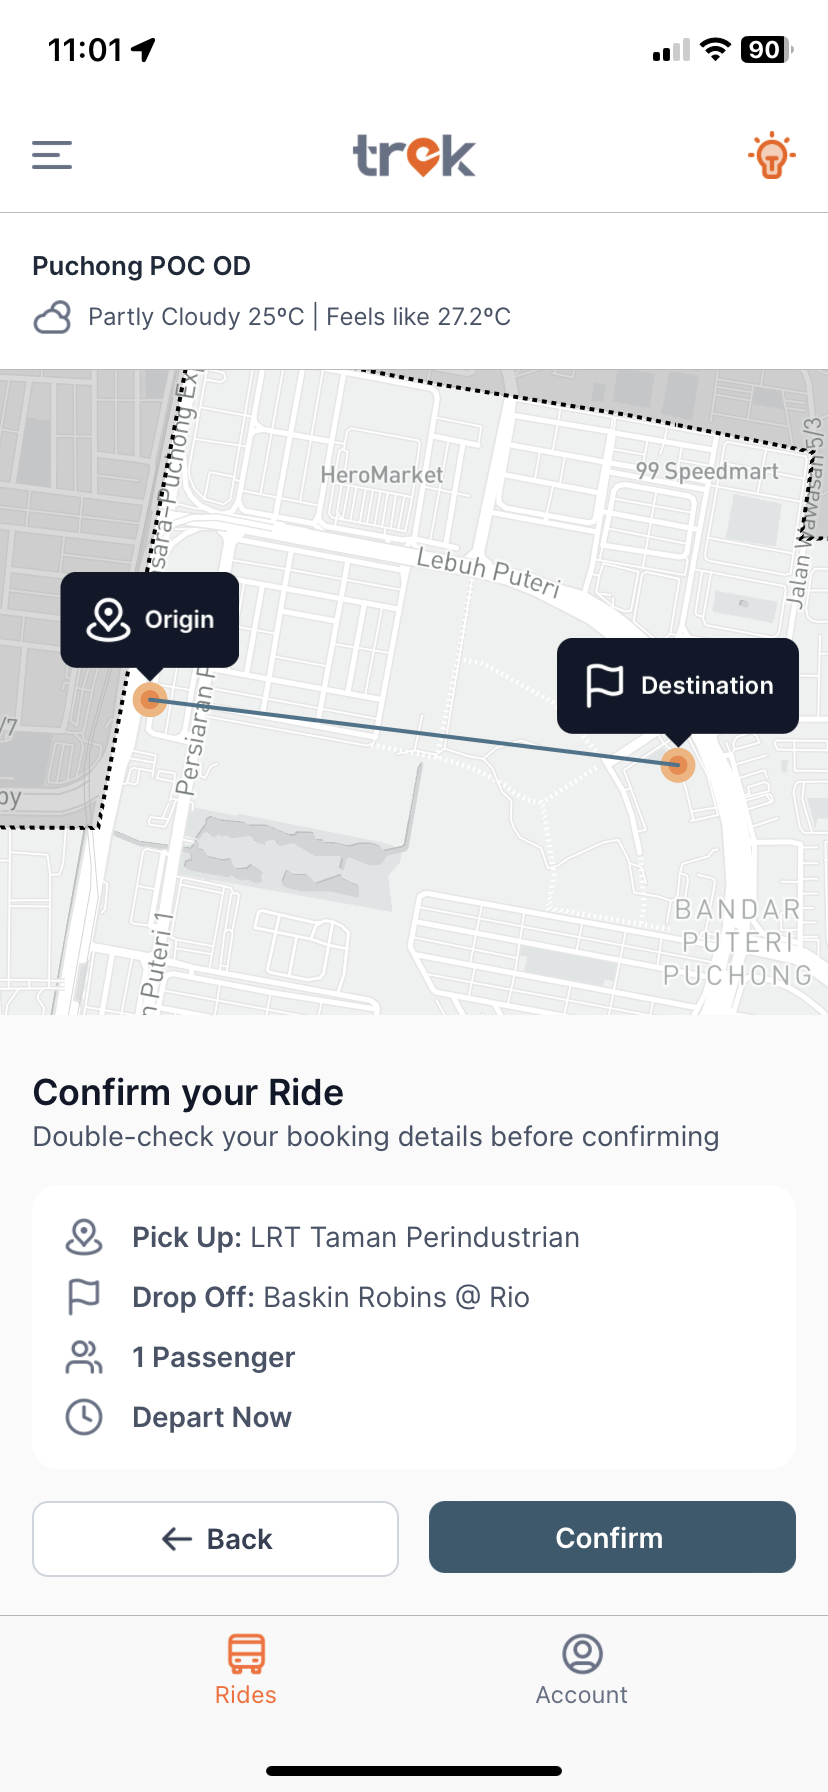
Step 3: Insert intended time of departure and number of passengers, and click “Confirm”
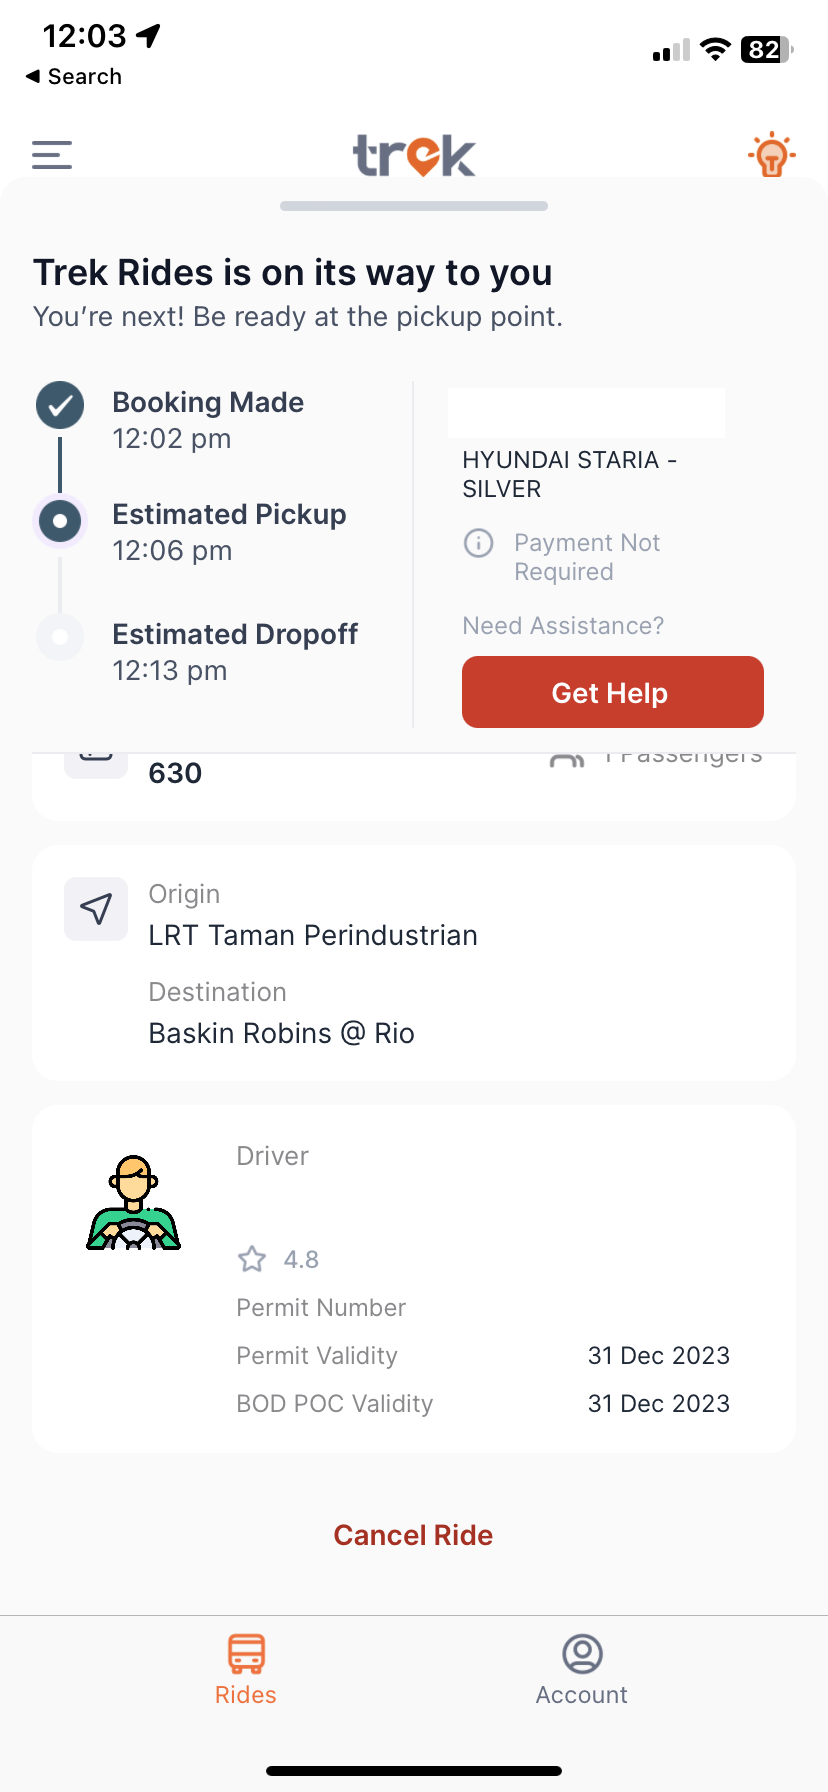
Step 1: Once your ride has been confirmed, you may cancel the ride as indicated below
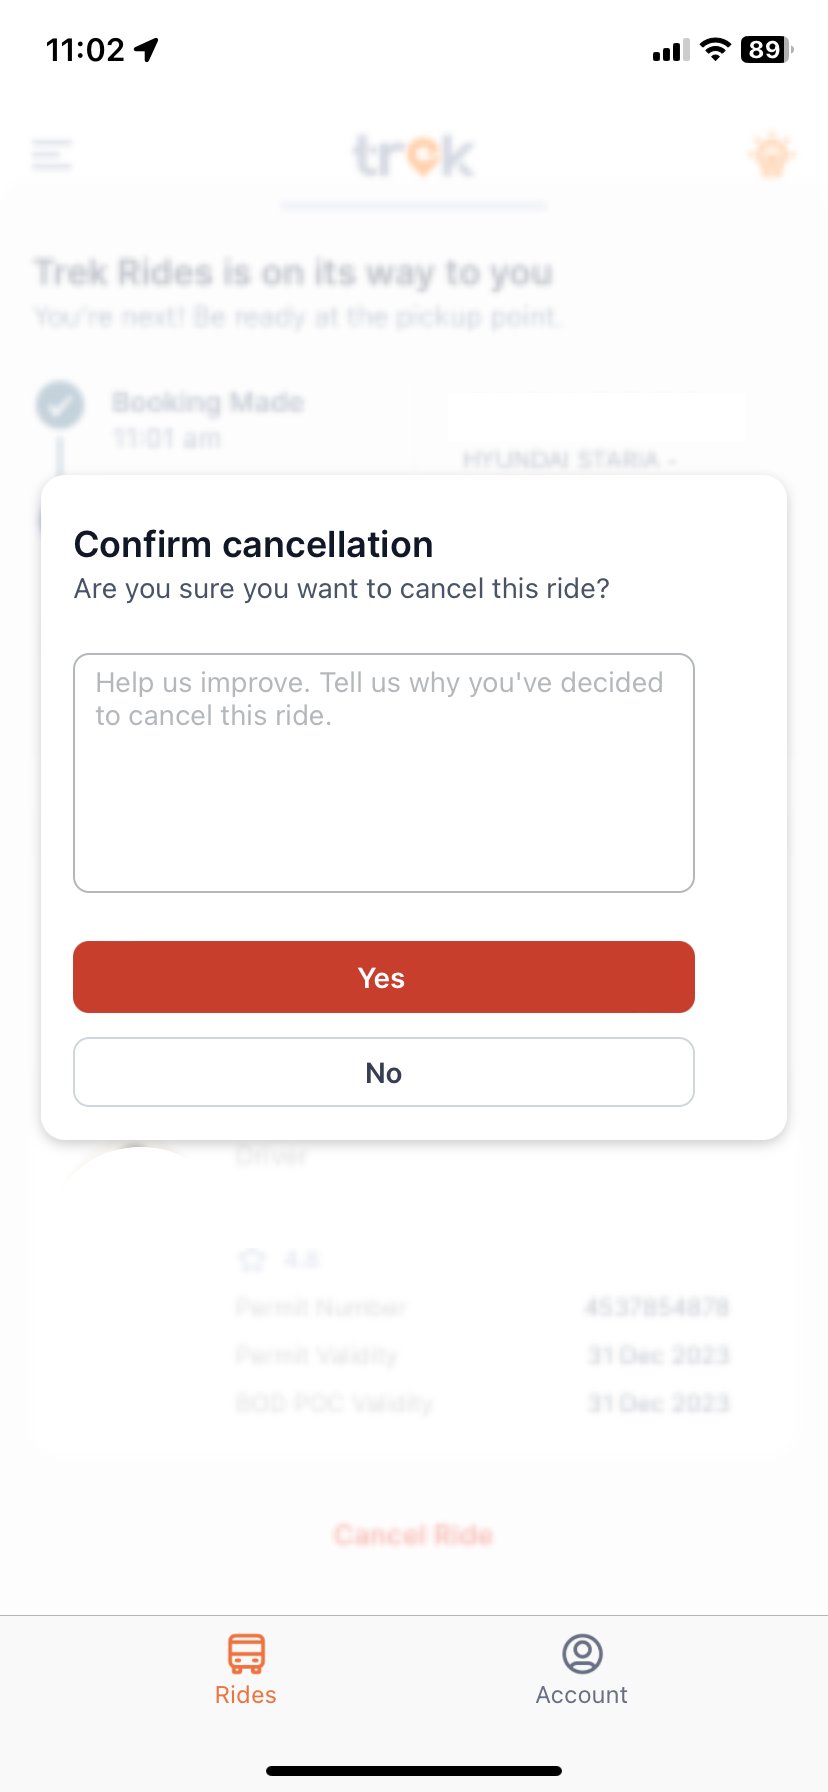
Step 2: Key in any cancelation reason for Trek Rides improvement and click Yes button to proceed with the cancelation.
Step 1: Navigate to the side menu on the left.
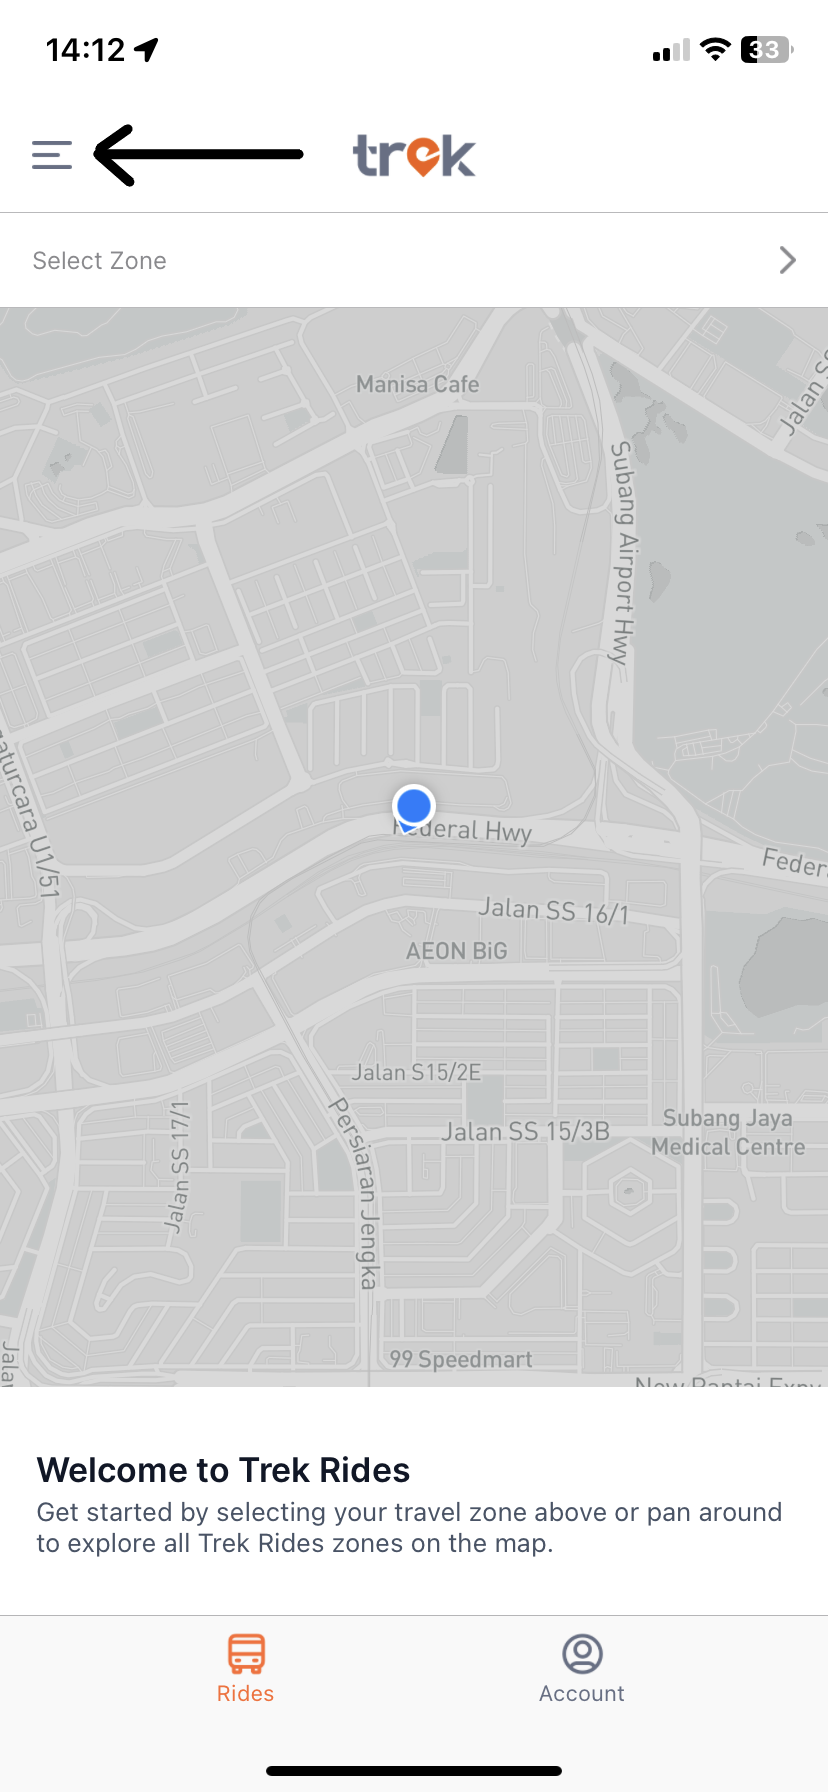
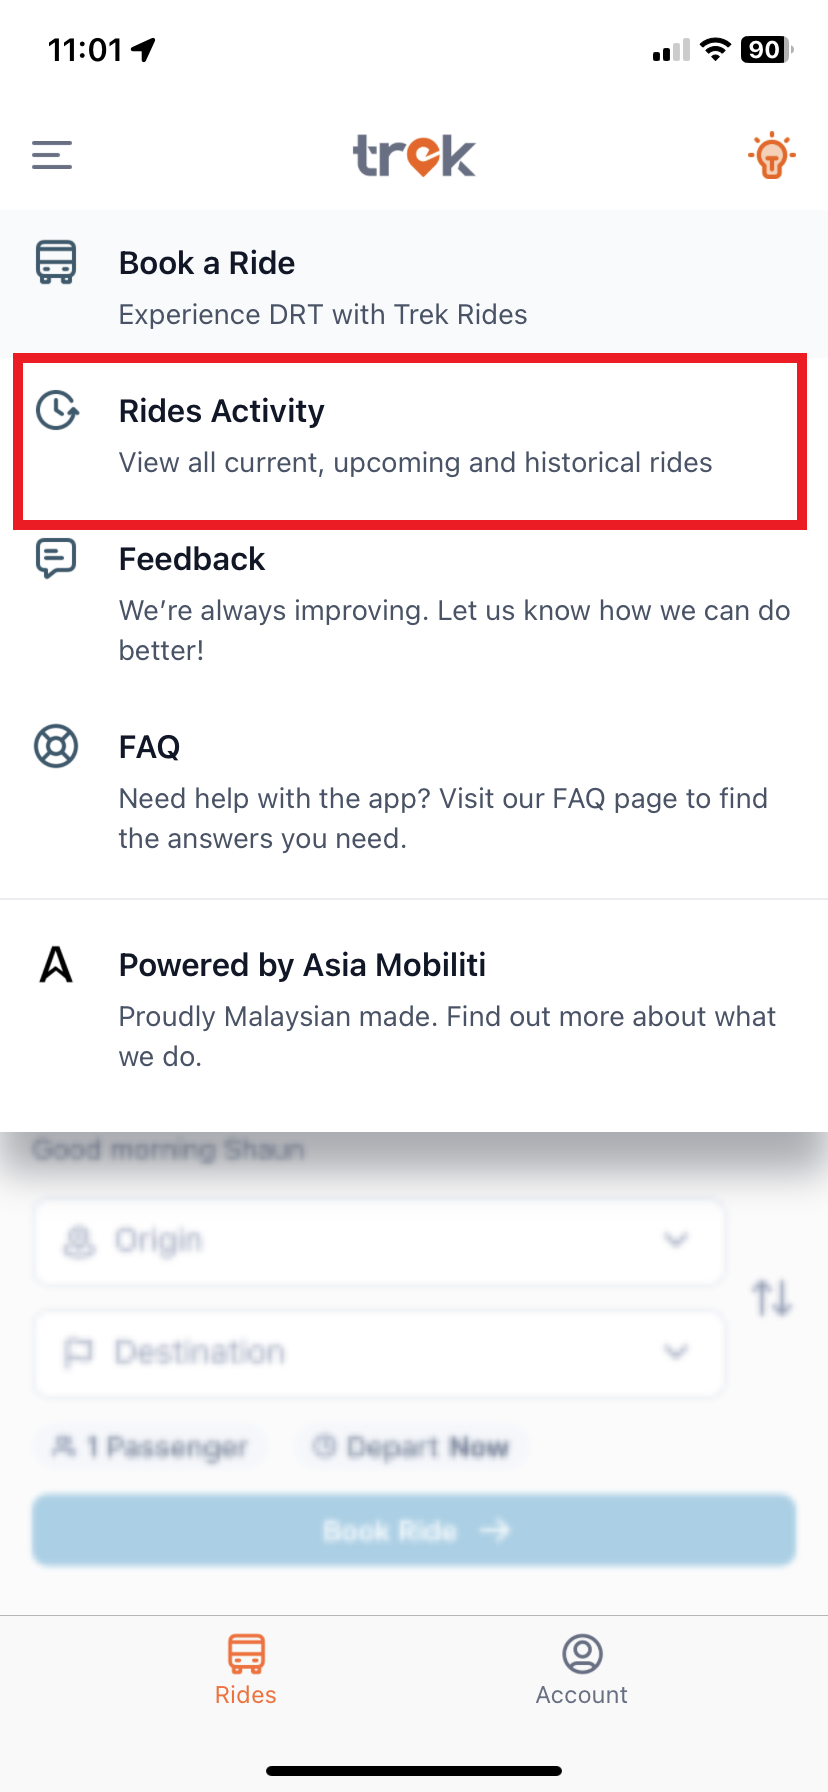
Step 2: Click “Rides Activity”
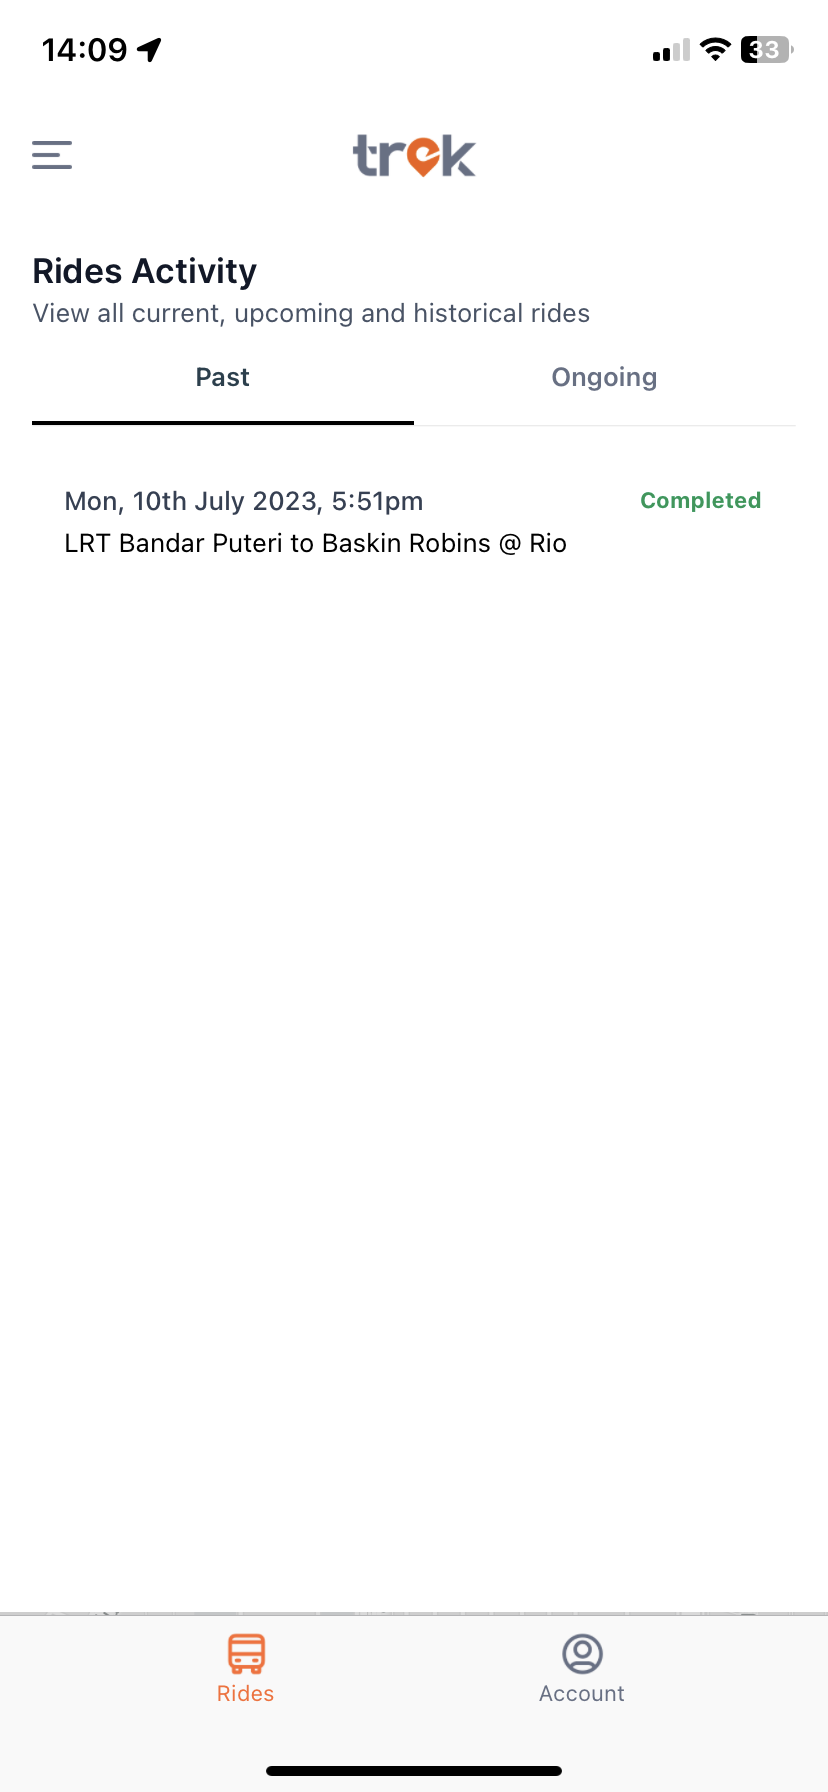
Step 3: There will be 2 tabs to view your past and upcoming rides. Click on the ride to view full details.
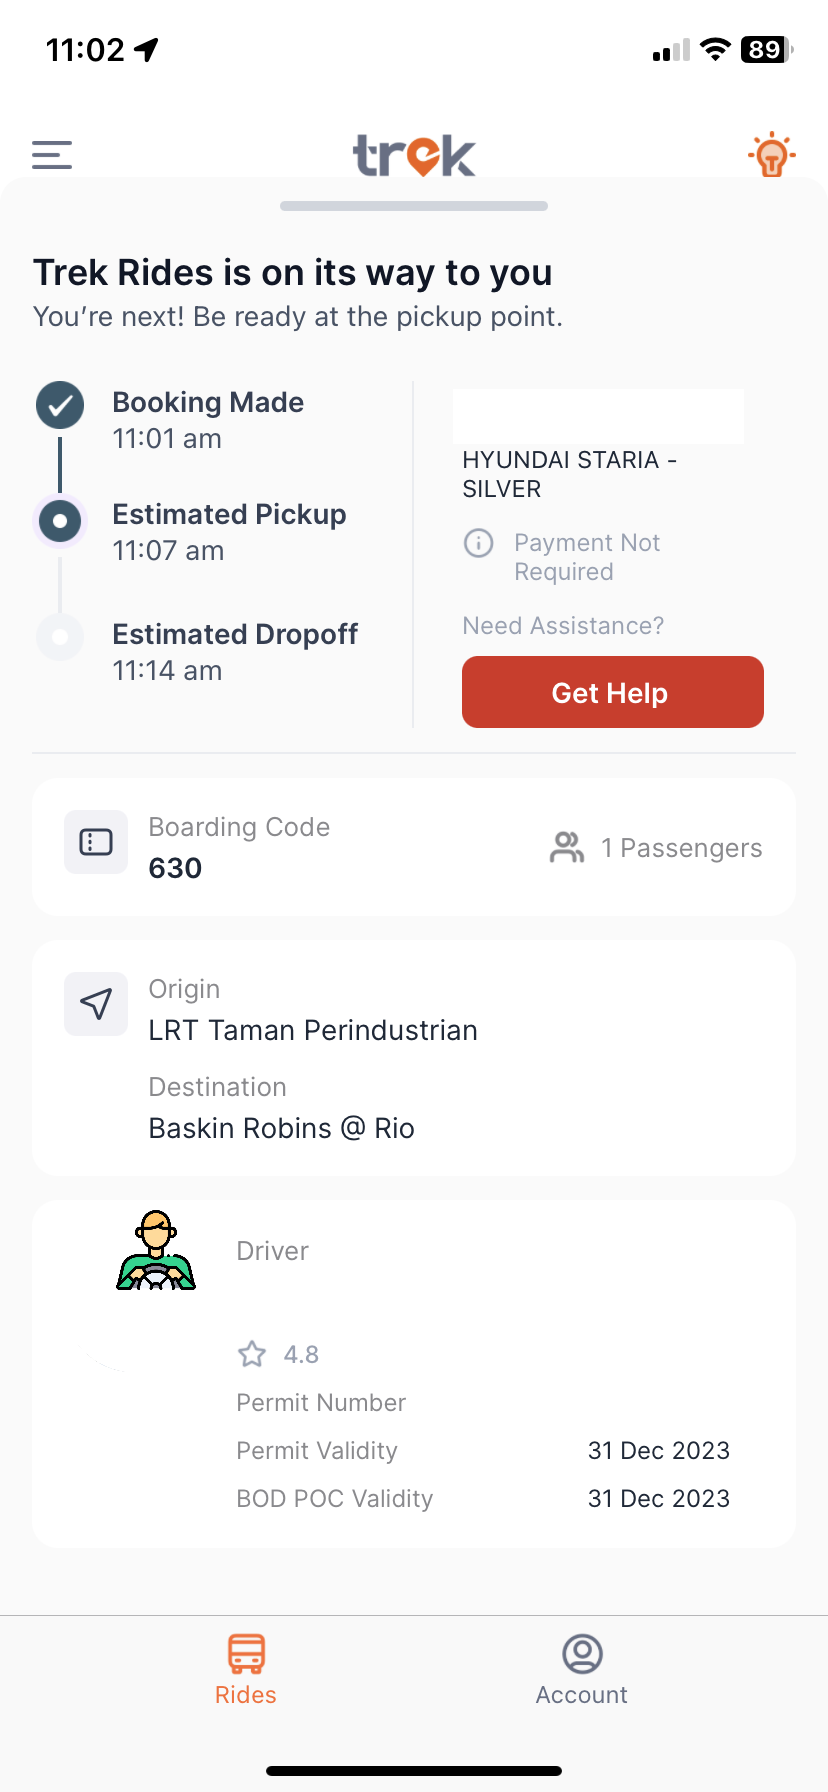
Step 1: Click on the Get Help button in the right side. You will have an option to call 999 or call your emergency contact
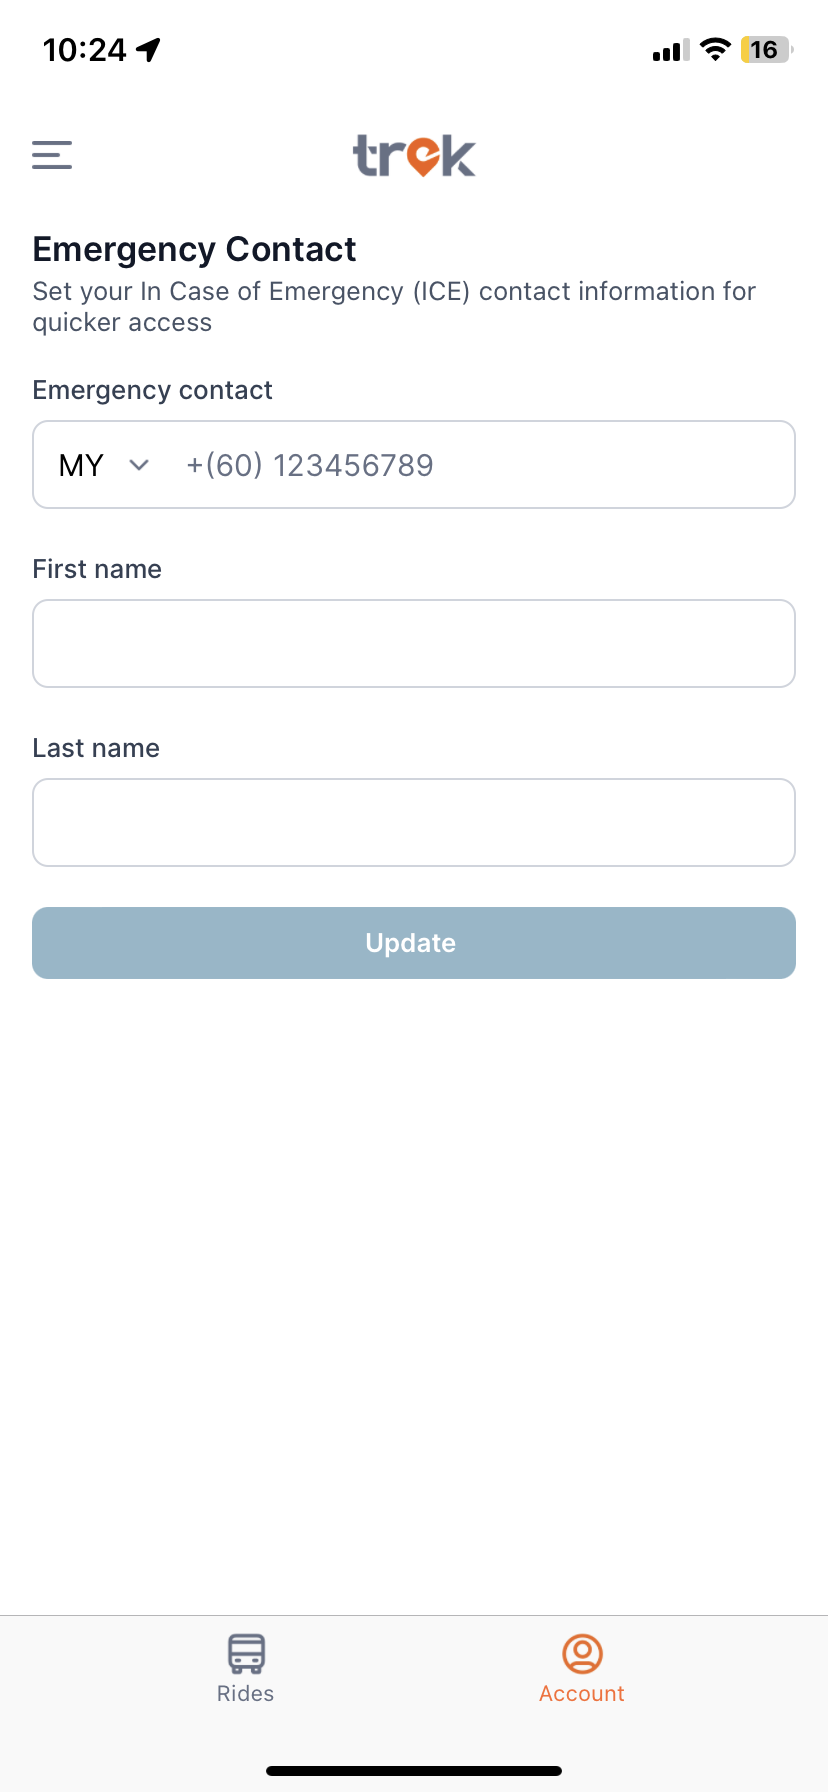
Step 2: If you have not already set up your emergency contact, you can set it by entering your emergency contact’s mobile number. Otherwise click contact emergency contact
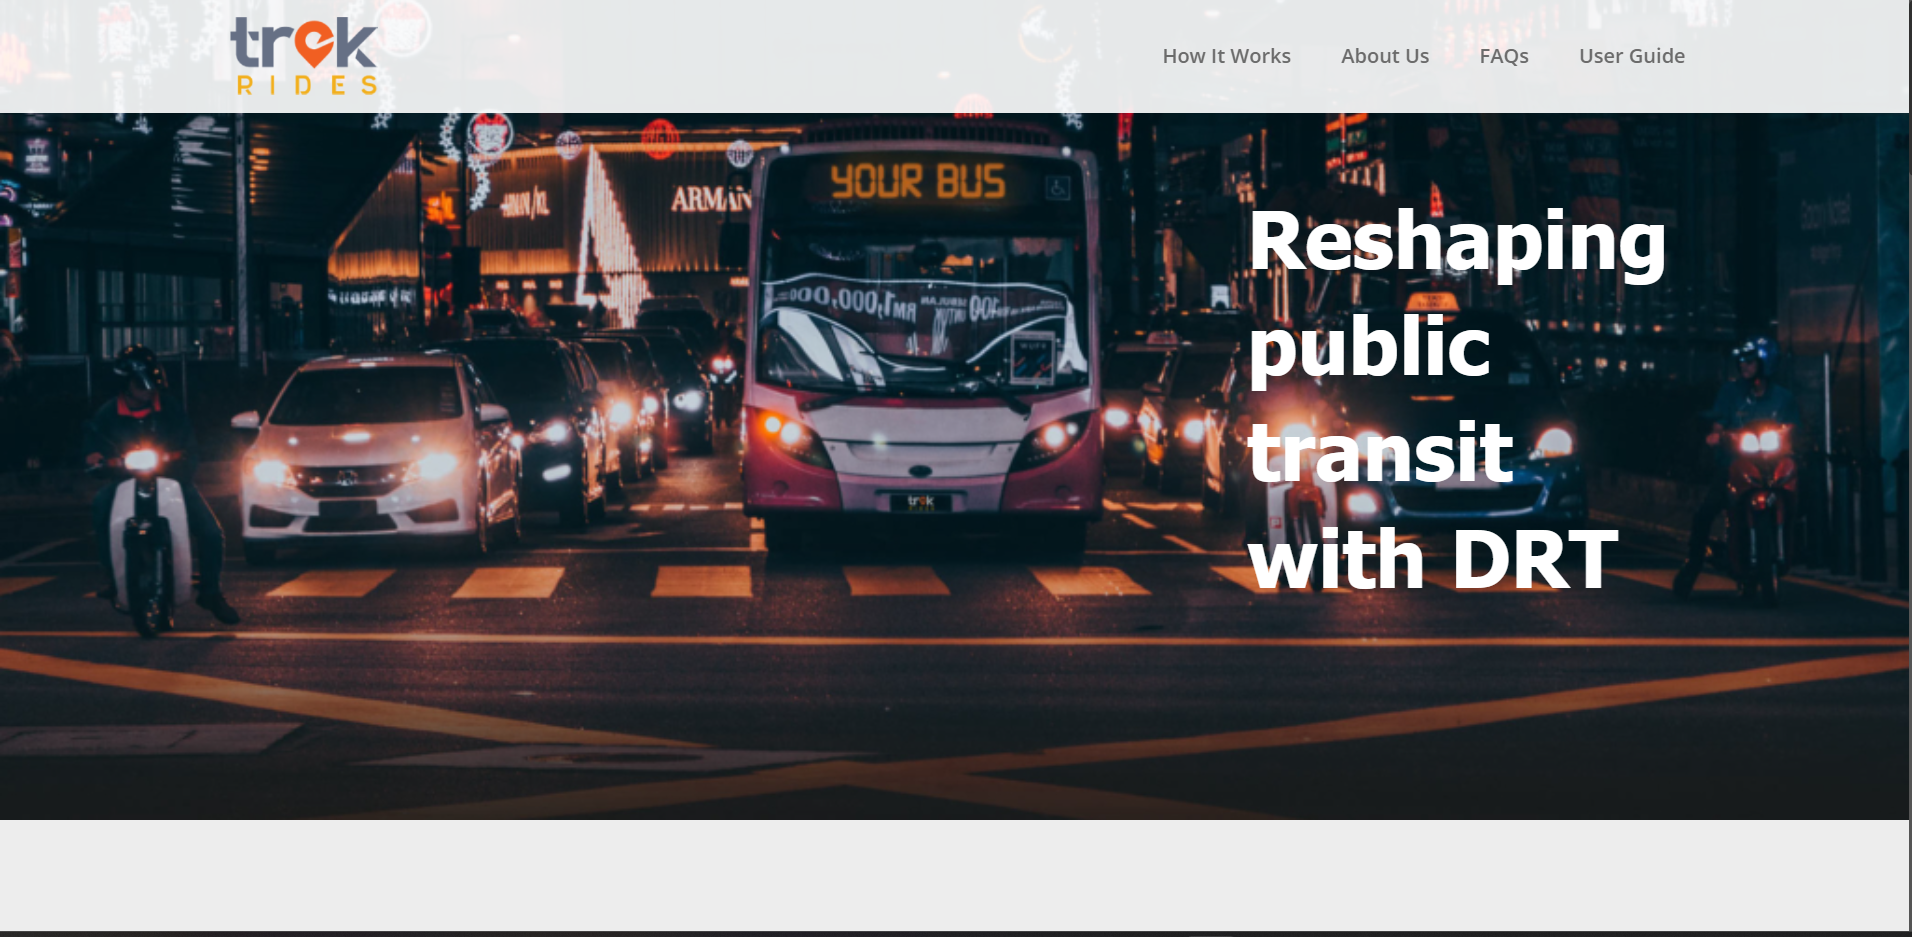
Step 1: Navigate to the About Us page on the Trek Rides website
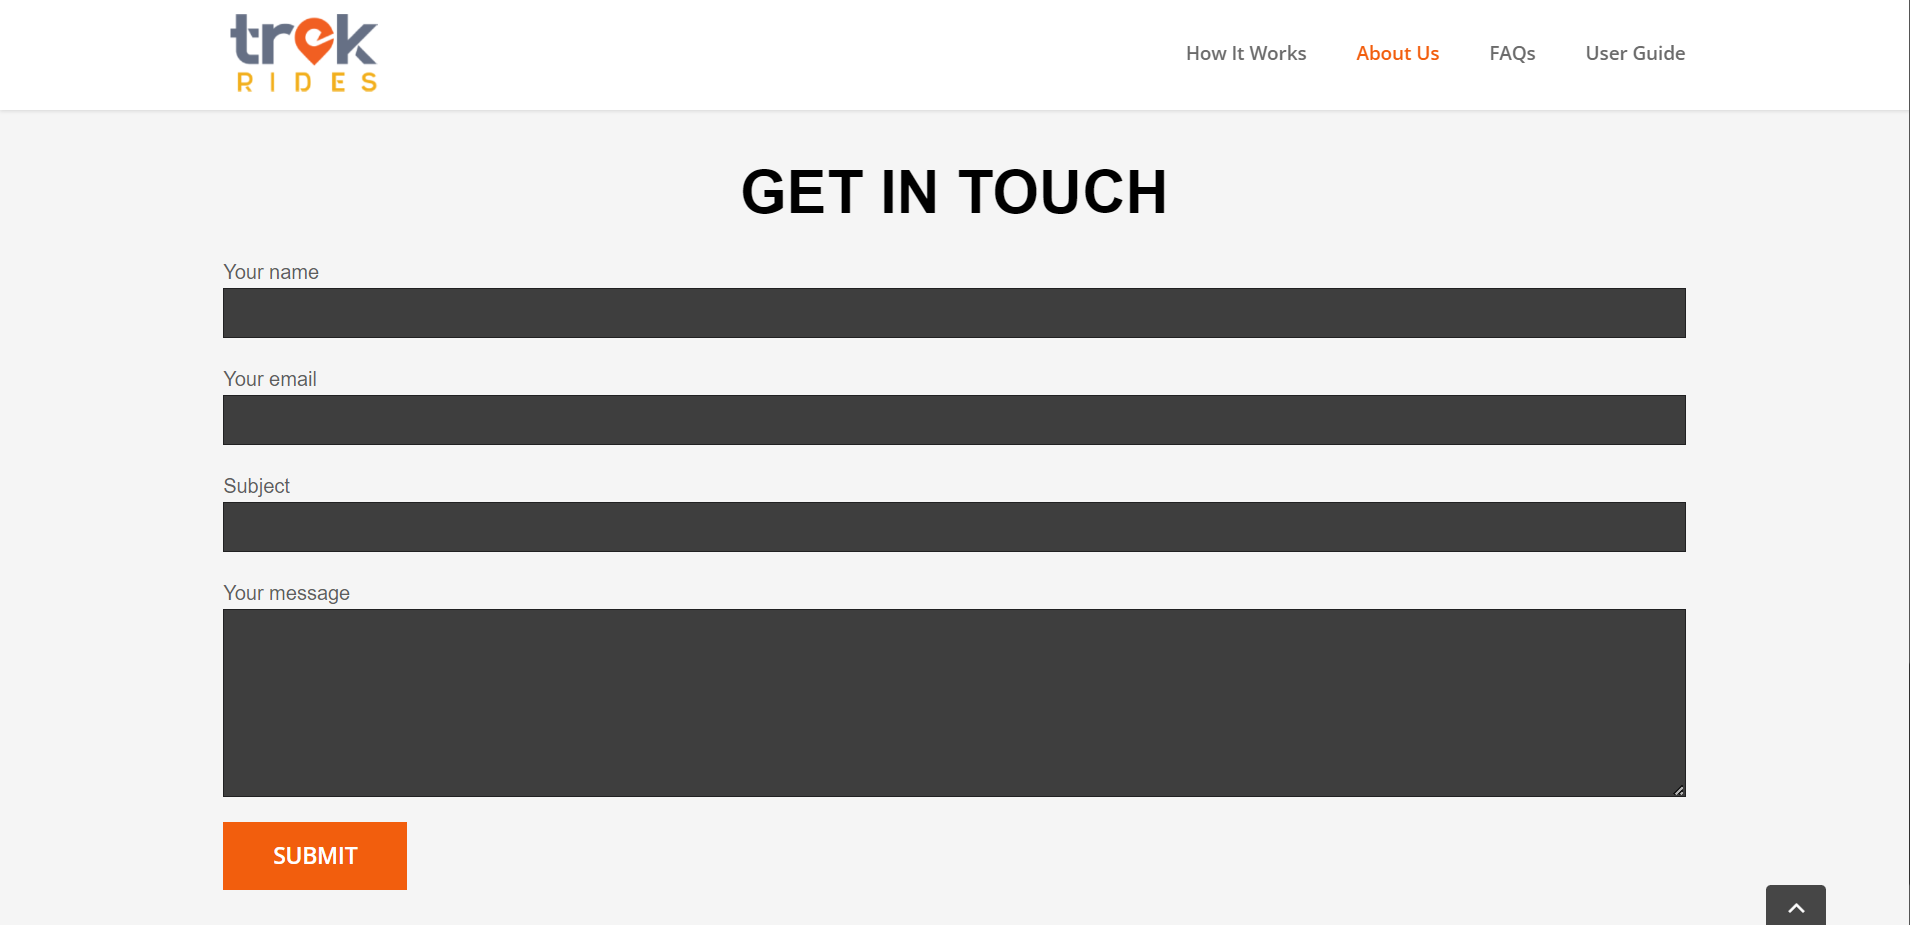
Step 2: Scroll down to the form at the bottom of the page to get in touch
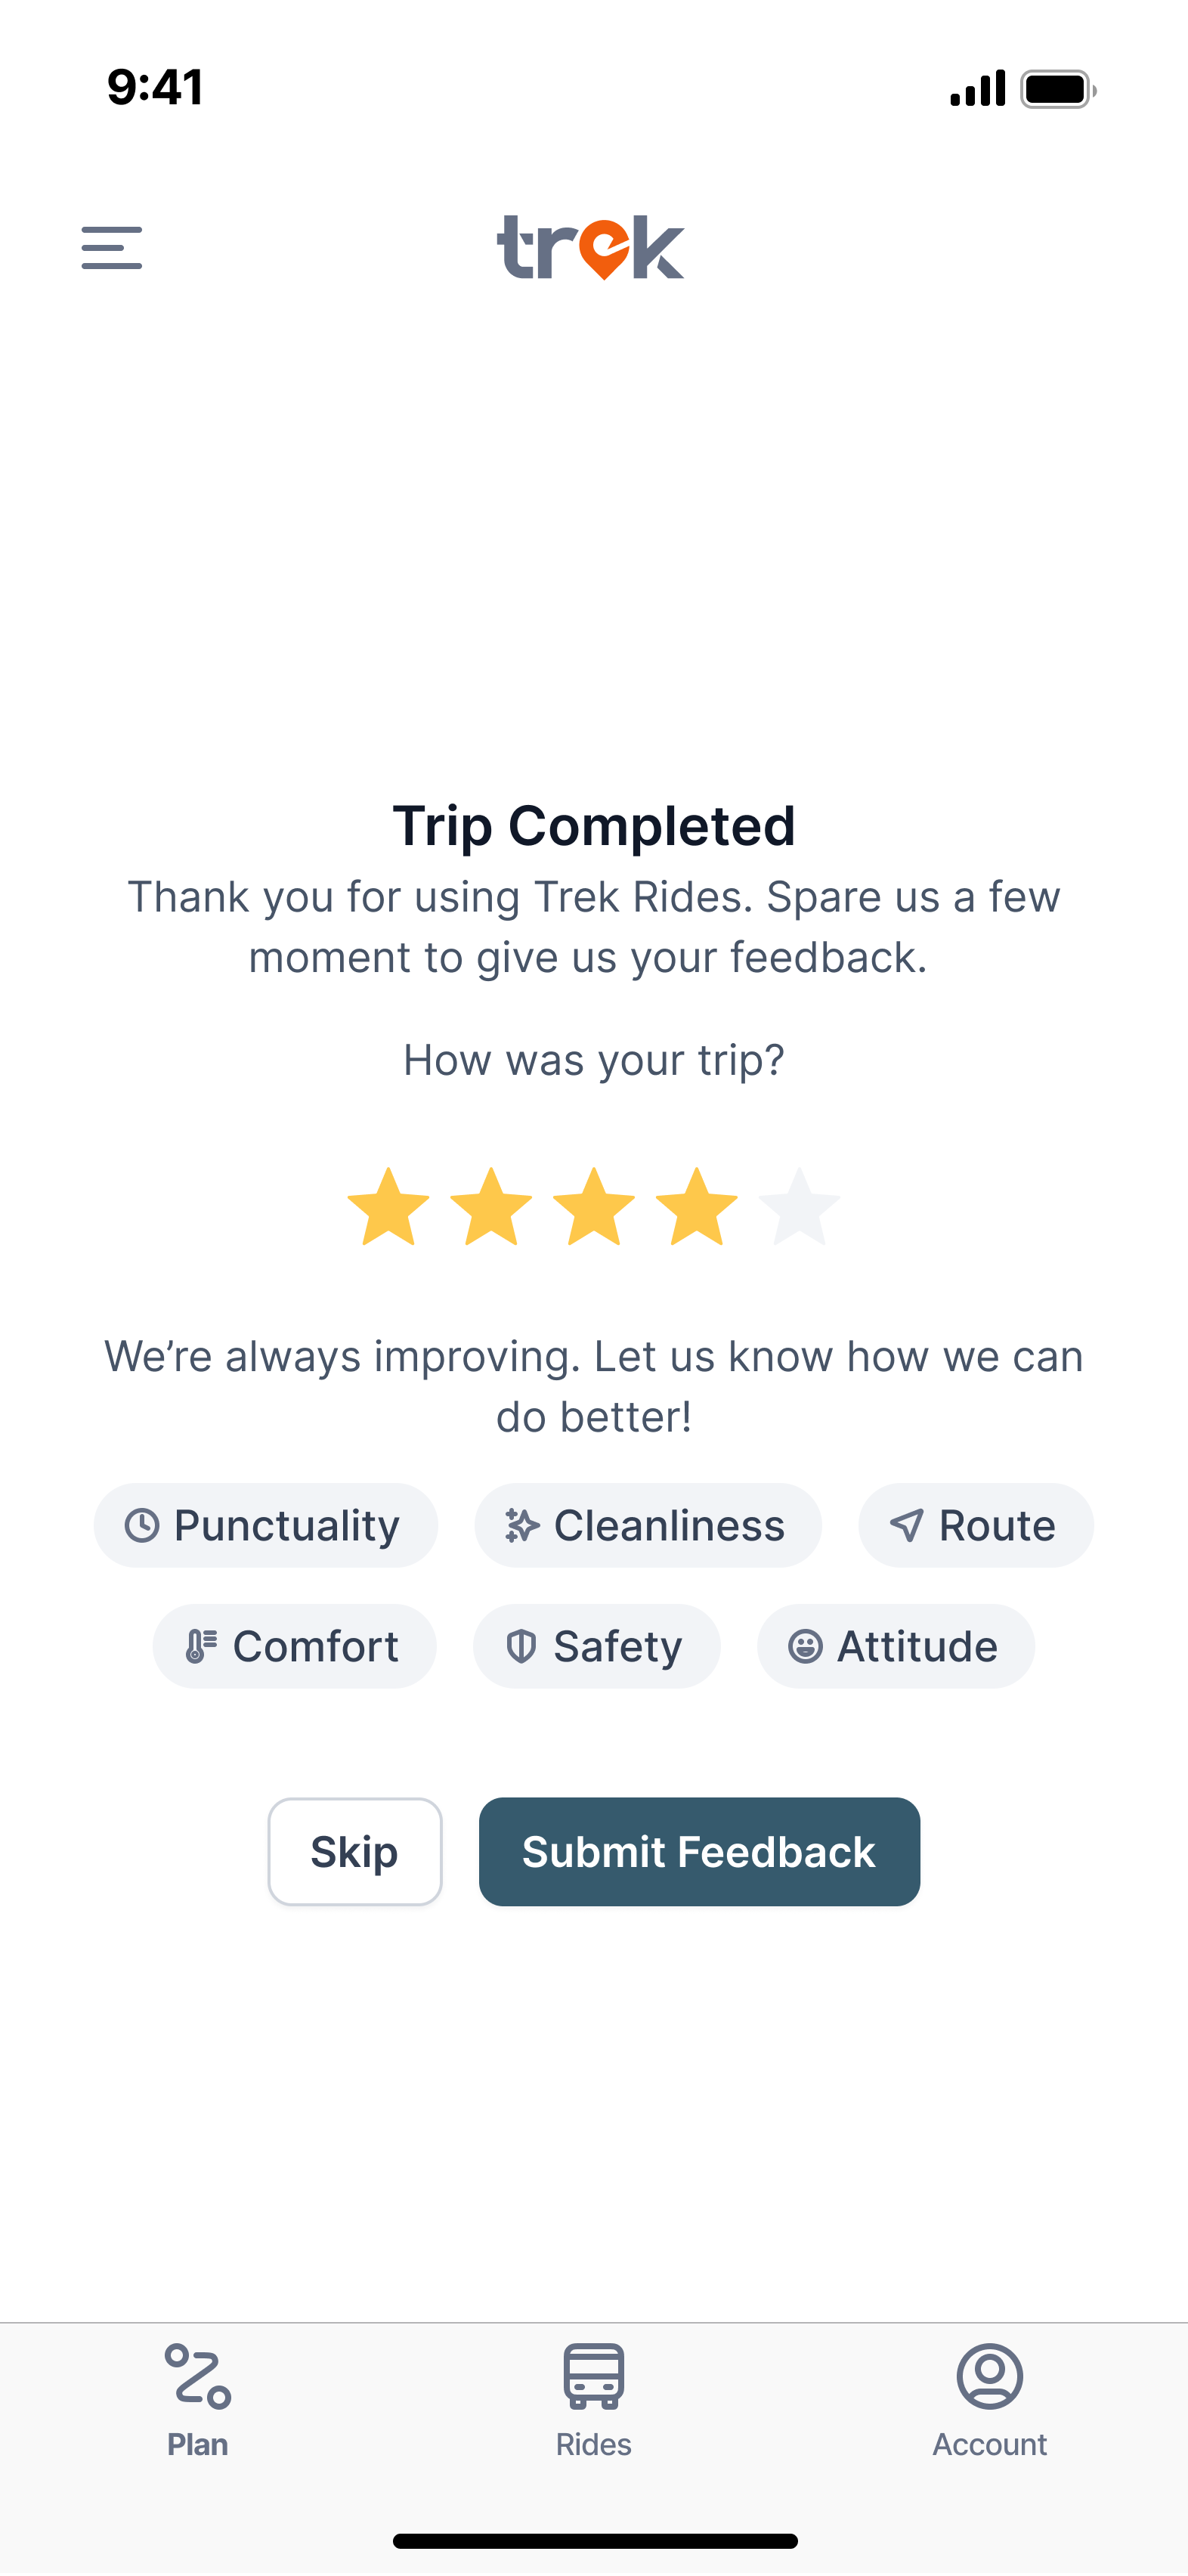
Step 1: After your trip is completed, you will be prompted to rate your trip with us
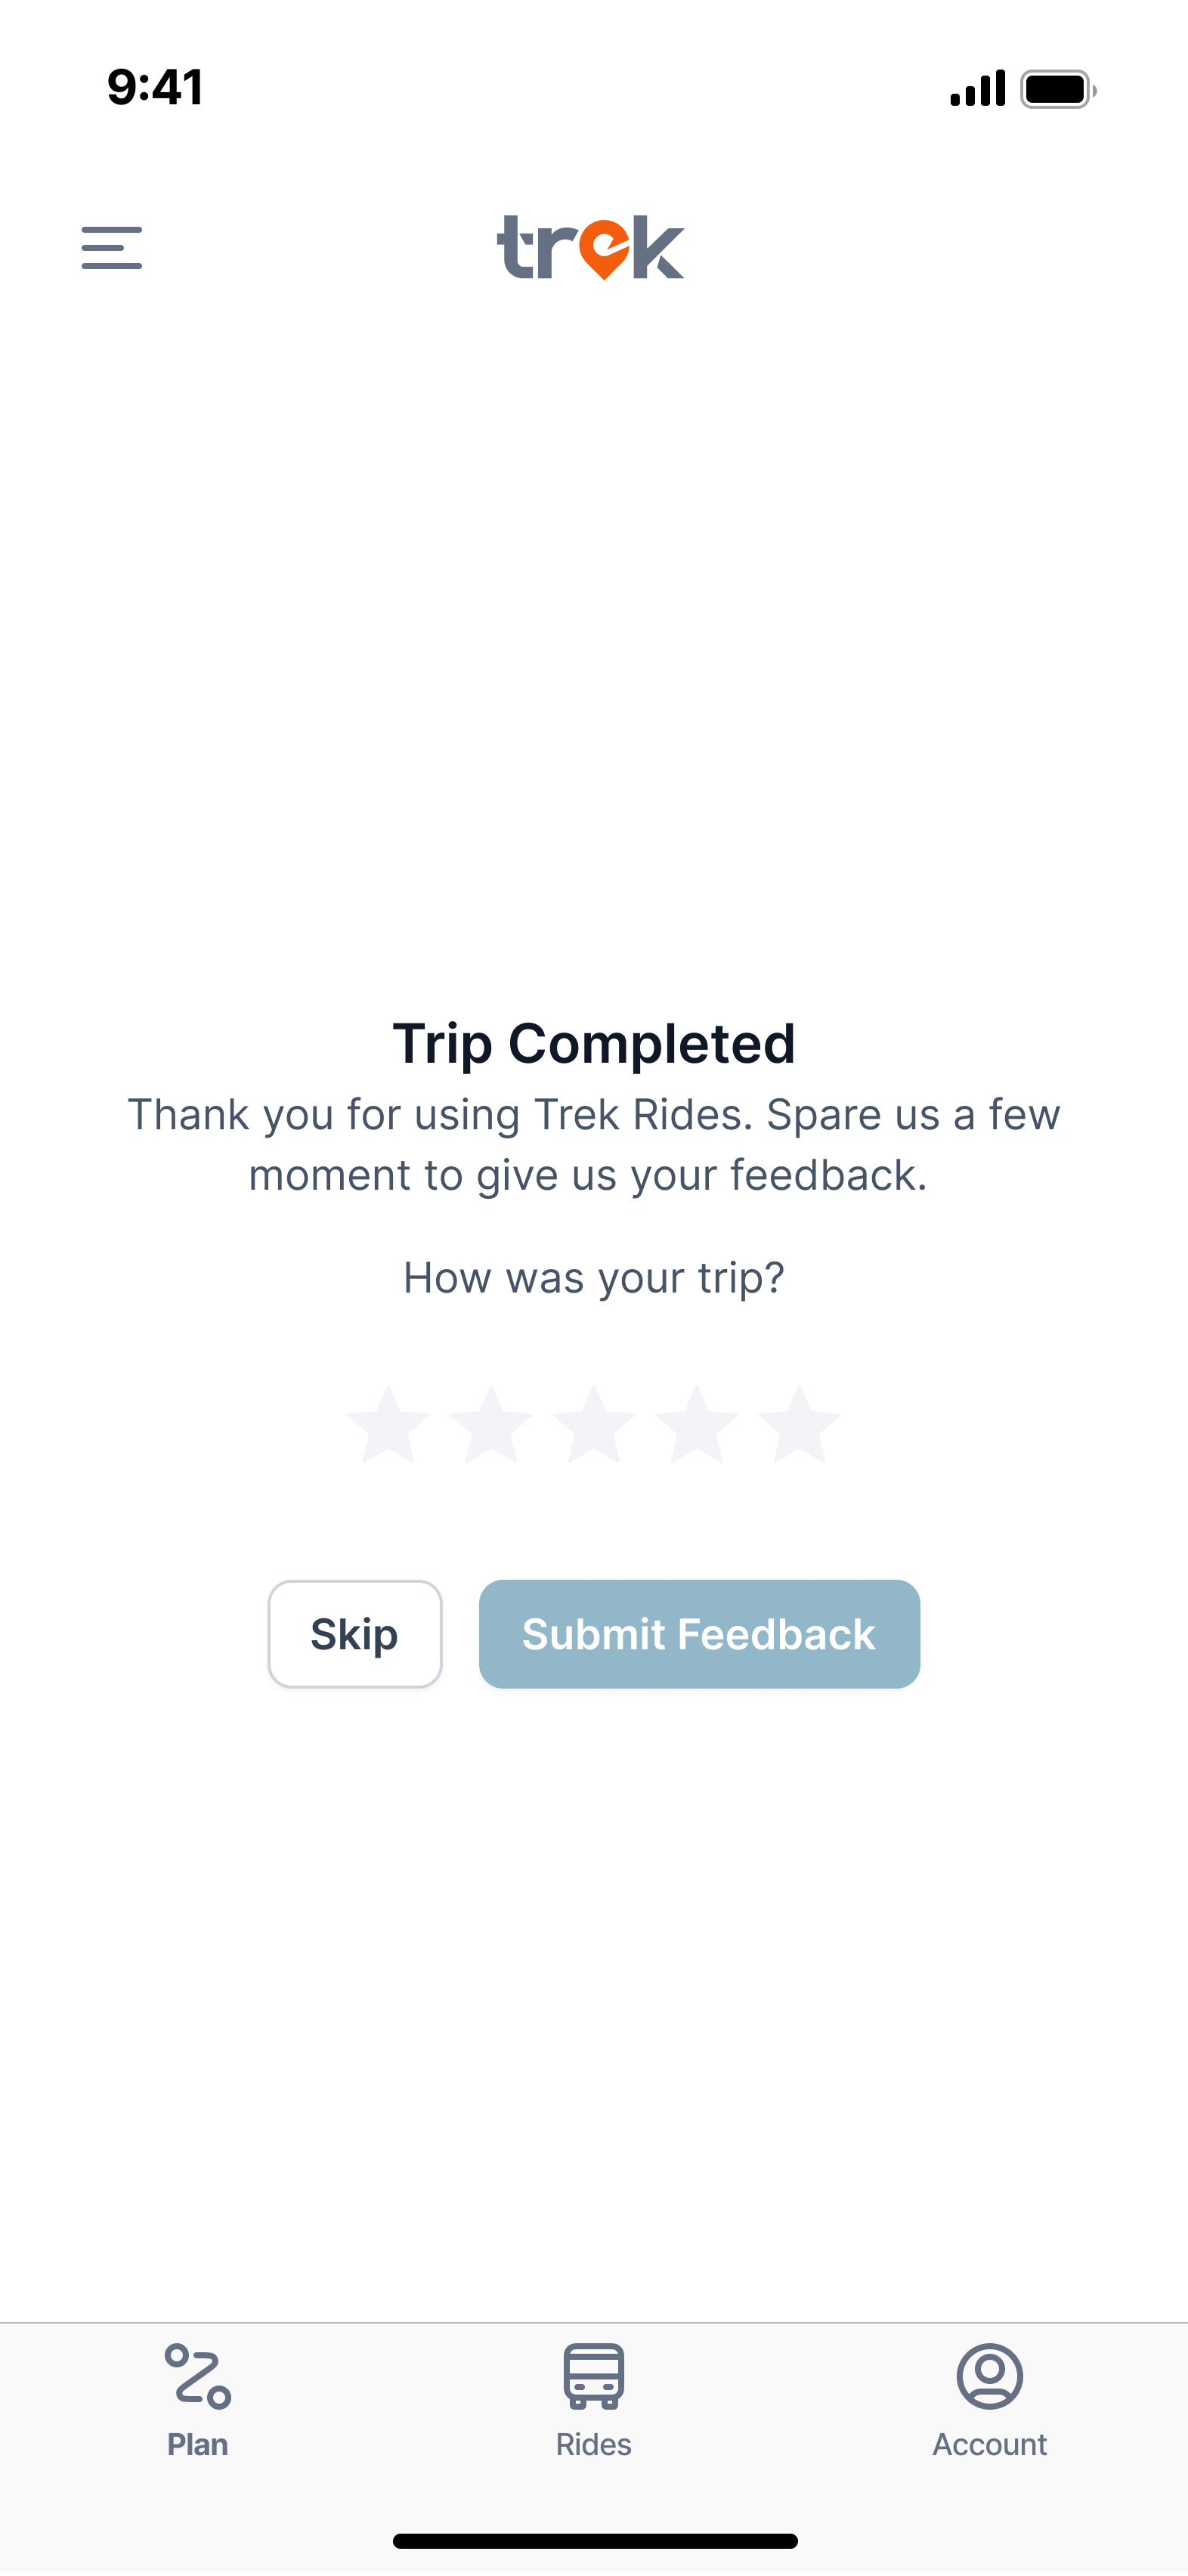
Step 2: Apart from your star rating, you can provide more feedback
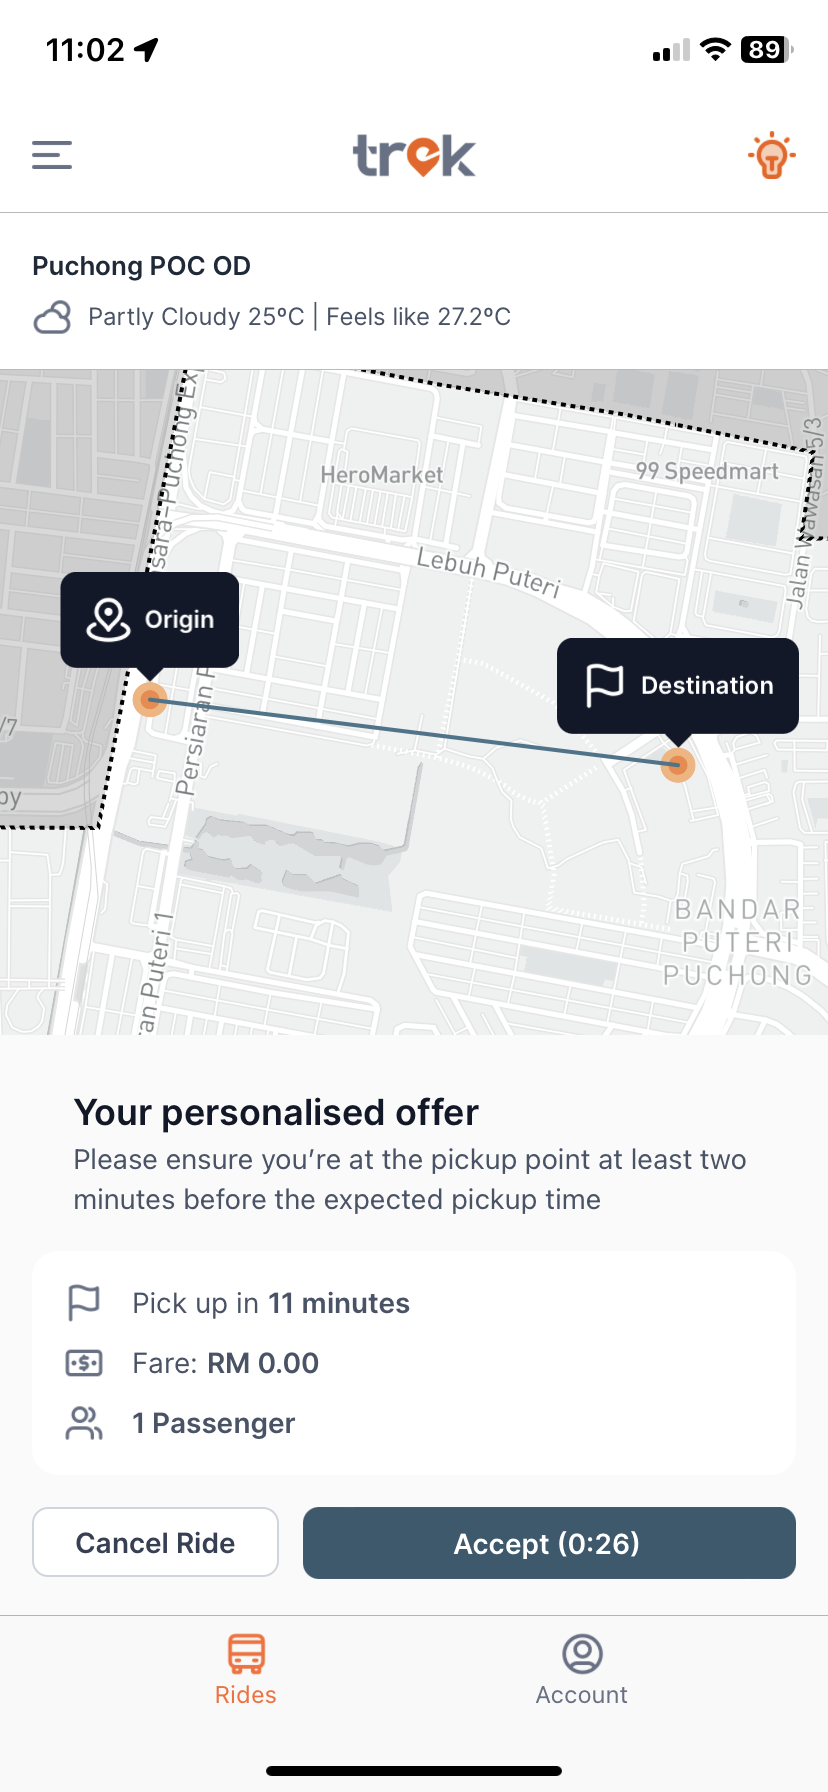
Step 1: You need to click accept button within 30 seconds after your order has been accepted. Simply press Accept button. If you wish to cancel, you may proceed with the Cancel Ride button.
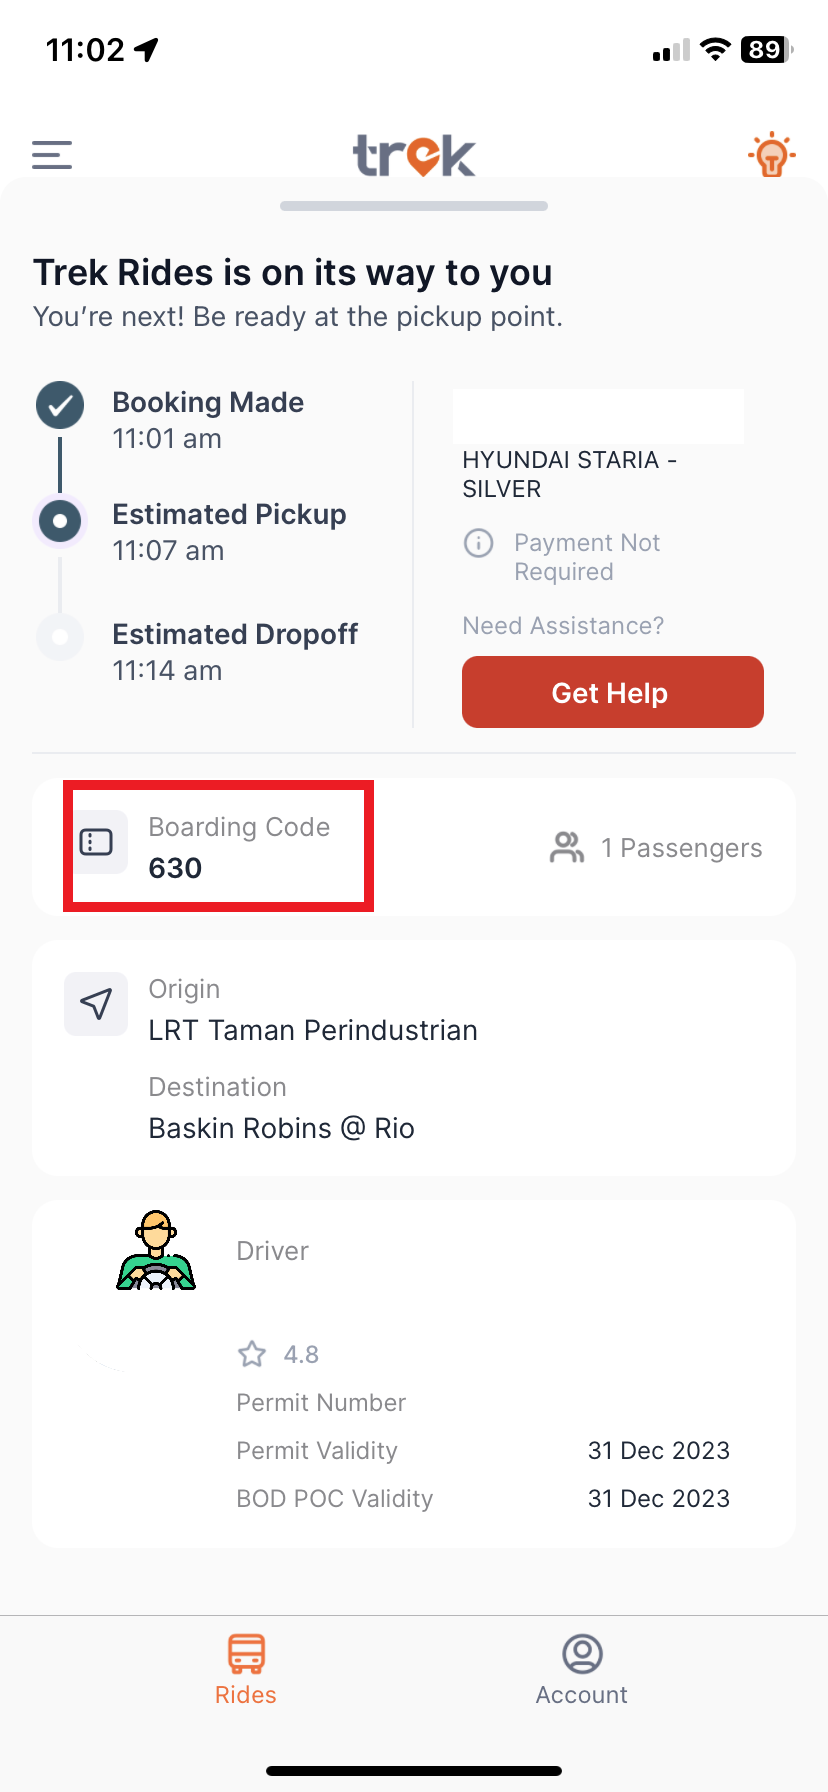
Step 2: Scroll down to view boarding code in red box below to verify with the driver when boarding your ride.
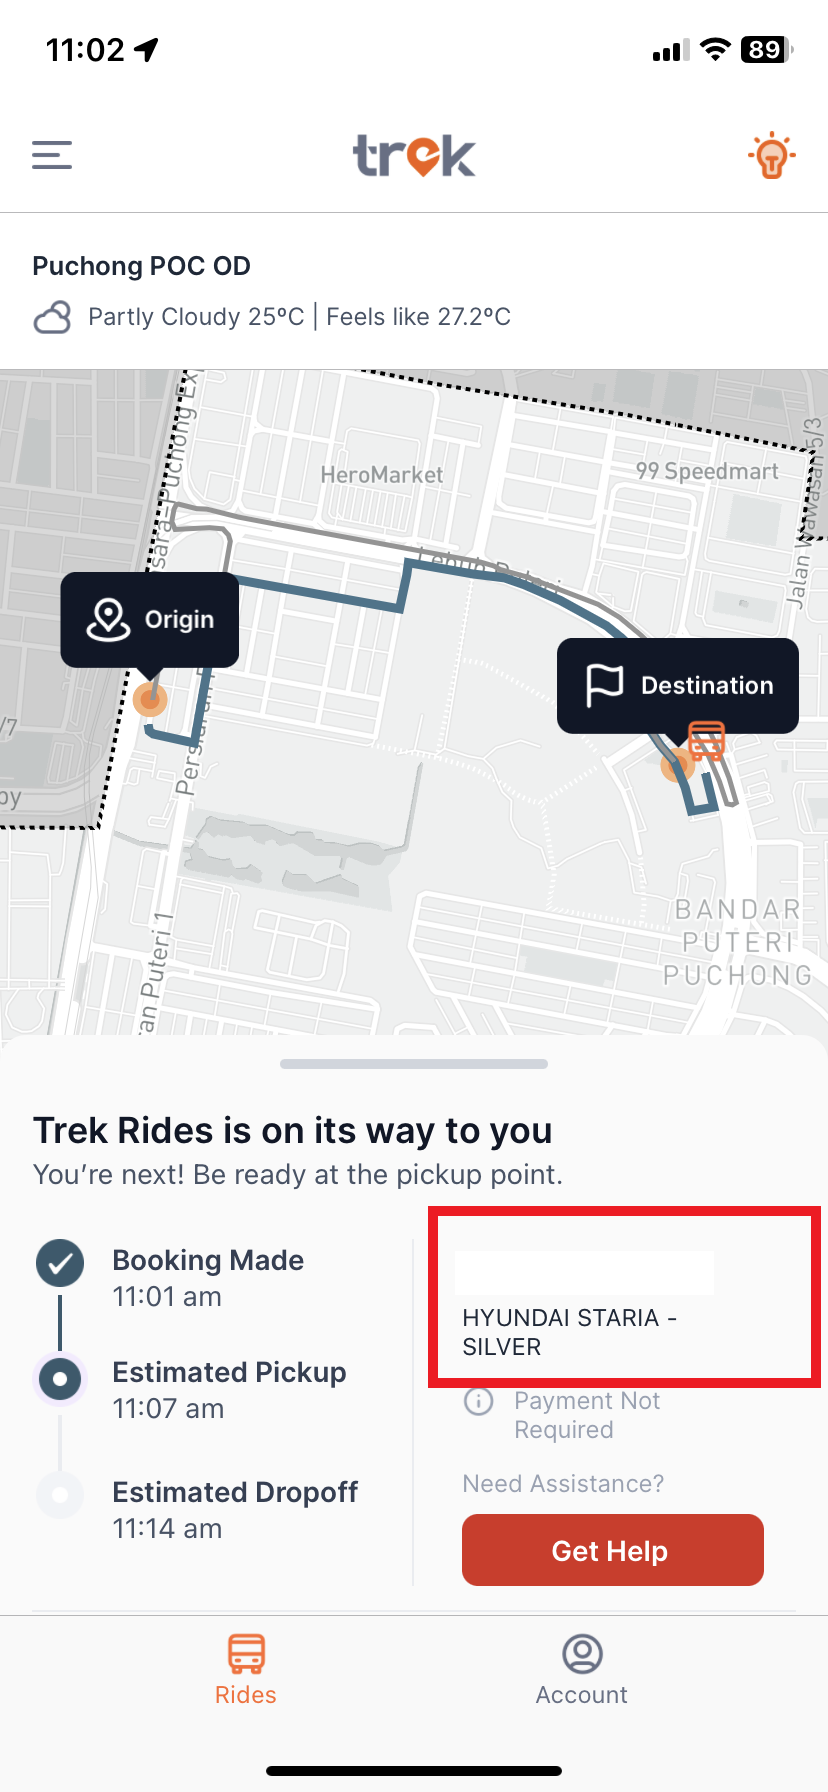
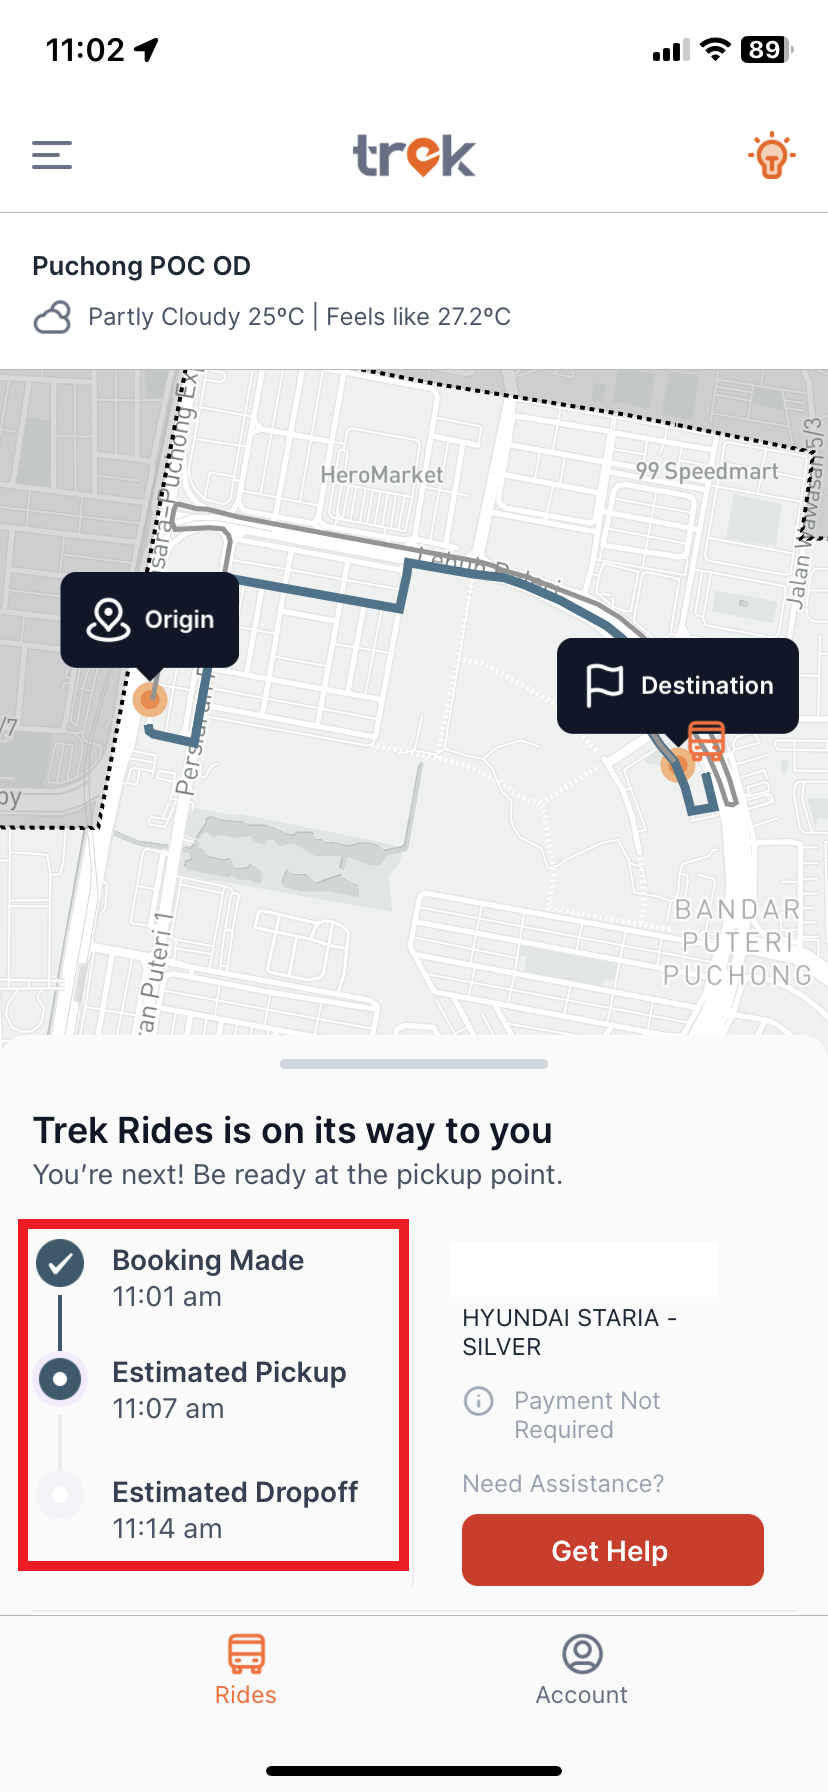
Step 1: The trip details under the map will display your live ETA and journey
Step 1: To ensure you board the right vehicle, details of the vehicle number and the boarding code on your app should match and be confirmed by the driver upon entering the vehicle.
